
I’ve been taking regular backpacking trips for about 6 years now and have made my fair share of mistakes! In fact, thinking back on my first beginner backpacking trips, I probably made more mistakes than I even realized at the time. From carrying the wrong gear, to choosing a bad campsite, and sometimes putting myself in precarious situations… this is the blog post I should have read as a beginner backpacker!
You’re not alone, we all make mistakes when starting out backpacking! Some of these mistakes can be so minor that they don’t affect your trip all that much. But other mistakes can quickly make your trip go from fun to awful, or even life-threatening. The good news is that these common backpacking mistakes are avoidable with proper planning and guidance.
Keep reading to find out the 9 most common backpacking mistakes to avoid and what to do instead!
Disclaimer: This blog post is in collaboration with Backcountry.com and features some affiliate links. This means I get a small commission if you make a purchase (at no extra cost to you). Use code RENEE15 to get 15% off your first Backcountry order (some exclusions apply). You can also learn more about my affiliate policy here. Thank you for the support!
9 Backpacking Mistakes to Avoid
Before we jump into the 9 most common backpacking mistakes to avoid, I want to first mention that this blog post isn’t here to scare you or prevent you from taking outdoor adventures. In contrast, this guide should help you feel empowered and educated to take backpacking trips! If you still have questions after reading this post, be sure to check out my other hiking and backpacking resources.

Skimping On Planning
Backpacking trips are not something you just take on a whim and leave planning to the wayside! That could lead to a potentially dangerous situation for yourself and others (e.g. the search and rescue crew who may need to come to save you). You don’t need to go overboard with planning, but some basic things like the following are vital: knowing where you’re going, how long you’ll be gone for, the mileage you’ll hike (plus elevation gain), what the weather forecast looks like, how you will find your way, and items you’ll need to pack.
Planning For a Backpacking Trip
Let’s cover some basics for planning a backpacking trip so that you’ll feel more prepared and confident when hitting the trails!
How To Find a Place to Go Backpacking
I know the feeling of not knowing where to start when choosing where to go backpacking. When just starting out, I would recommend selecting a backpacking location close to home. Google some local trails or consider calling the ranger station at a nearby park and asking for recommendations based on current trail conditions.
Some helpful resources to find backpacking trips in your local area include The Outbound and All Trails. For those based in Washington State, I would also recommend Washington Trails Association. I find it useful to read recent trail reports and hear about current conditions for the area (e.g. muddy trails, bugs, snowpack, etc.)
How Many Days To Go Backpacking
If you’re a beginner backpacker then I would suggest taking an overnight trip for your first time. Choose a trail that is relatively short and within your capabilities. You will be carrying extra gear, so choose something shorter than you would typically walk for a day hike. For your first backpacking trip, I recommend going with an experienced partner. This is one of my tips on how to conquer your first-time backpacking fears!
Once you have gained more confidence then you can graduate to a 2-night backpacking trip! Your first 2-night trip could involve camping at a single campsite for both nights, but doing some day hiking during that second day before returning back to the same camp. After that, you could try out a 2-night backpacking trip where you hike to a different campsite each day (more hiking with a pack, so definitely harder than a basecamp option).
How To Find An Accurate Weather Forecast
I highly recommend the website/app Windy when researching weather conditions for hiking and backpacking. For each day of your trip, look for things like the expected temperatures (highs and lows), wind, potential rain, cloud cover, and humidity.
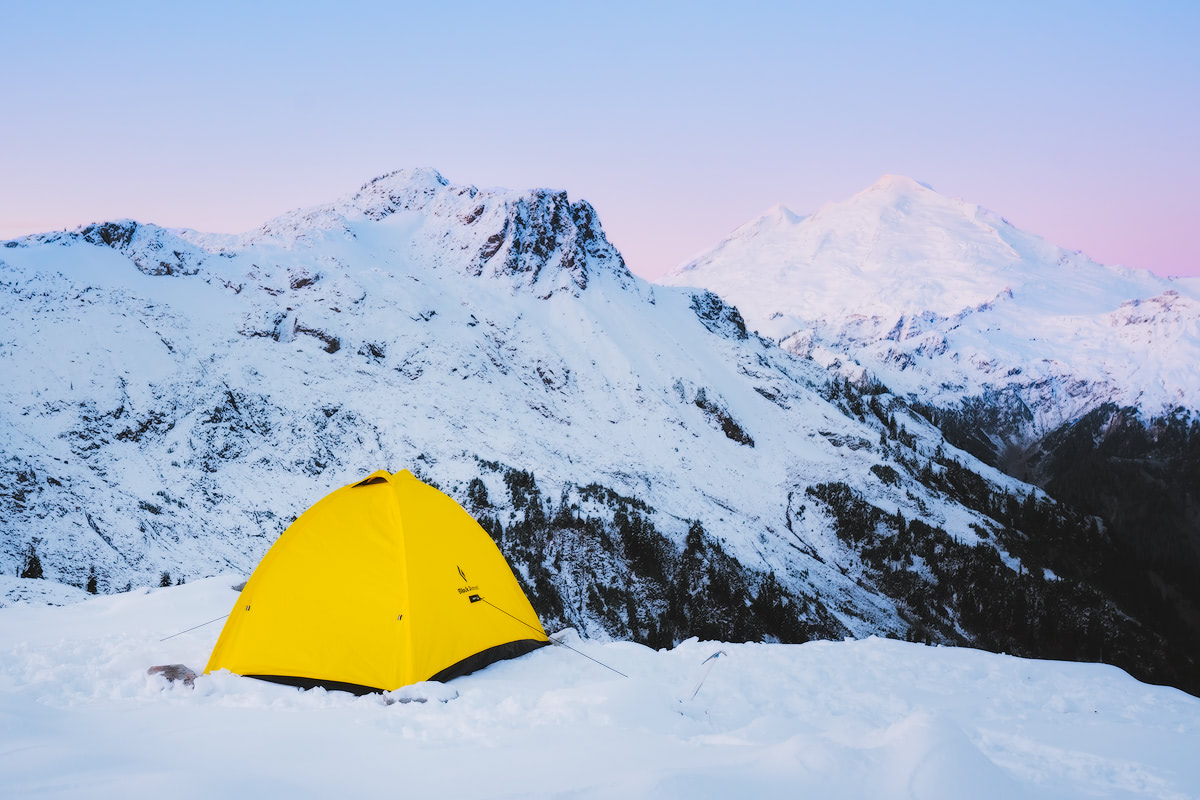
If you’re a beginner backpacker then I would suggest starting out with summer and shoulder season camping. Winter camping is awesome but definitely more challenging and risky. Start with warmer weather adventures and work your way up to winter backpacking.
Preparing Adequate Navigation
We will go into more detail about this in another section, but some basics are:
- Download a GPS hiking app such as Gaia GPS (Click here to get 20% off a Gaia GPS membership)
- Carry a compass and map
- Stay on trail
- Be observant
- Pack an emergency device like the SPOT Gen4 Satellite GPS Messenger or the GarminInReach Mini
- Tell someone where you are going
How to Know What to Pack
I have an entire blog post on what to pack for a backpacking trip, be sure to give that a read! I’ve also featured an in-depth backpacking gear list further down this blog post, including suggested items. Plus, you can download this printable backpacking checklist!

Not Getting The Right Fitting Hiking Shoes
A major backpacking mistake to avoid is choosing the wrong hiking shoes! Having adequate hiking shoes will make your backpacking experience so much more pleasant and will also help prevent injuries. Let’s cover what to look for below.
How To Choose Hiking Shoes
The first thing you will need to think about is the type of hiking shoes that will best suit your needs. There are essentially 3 different types of hiking shoe categories: hiking boots, trail runners, and hiking sandals. Within these categories, you have choices like waterproof vs not waterproof, low profile boots versus high profile/more support, etc. I recommend asking yourself the following questions:
- Will you be using these shoes for day hiking AND backpacking, or just backpacking?
- What kind of terrain do you typically choose for backpacking trips?
- What season/kind of weather do you plan to go backpacking in?
- How far will you be hiking each day and in total during your backpacking trip?
- Do you prefer more ankle and knee support?
- Are you prone to rolling your ankles?
- Do your feet get super hot when hiking?
- Do you like your gear to be ultra-lightweight?
As a general rule of thumb, below is the general direction you will want to head in when selecting hiking shoes for backpacking. Keep in mind that personal preference varies greatly and not everyone will like the same type of shoes!
- Trail runners: hot weather, dry conditions, longer mileage, less rocky trails, preference for lightweight gear, durability less of a concern, you get hot feet when wearing boots.
- Low profile hiking boots: need a more durable shoe, potentially rockier terrain, may need waterproofing, don’t need extra ankle support, colder weather.
- Mid/high profile hiking boots: heavier backpacking loads, prefer more ankle and knee support, may need waterproofing, need a durable boot, wet weather conditions, cold weather conditions, rocky or steep terrain.
- Trail sandals: short mileage, river crossings, very hot conditions, you get hot feet when wearing shoes.
How To Make Sure Your Hiking Shoes Fit Correctly
The two key things to consider when fitting hiking shoes are length and width. You do not want your toes hitting the end of your shoes when you walk downhill. You also want enough room in your shoes to allow your feet to swell and expand when hiking, especially in hot weather. The image below shows some key things to consider when sizing hiking shoes, courtesy of the New York Times.

Best Hiking Shoes for Women and Men
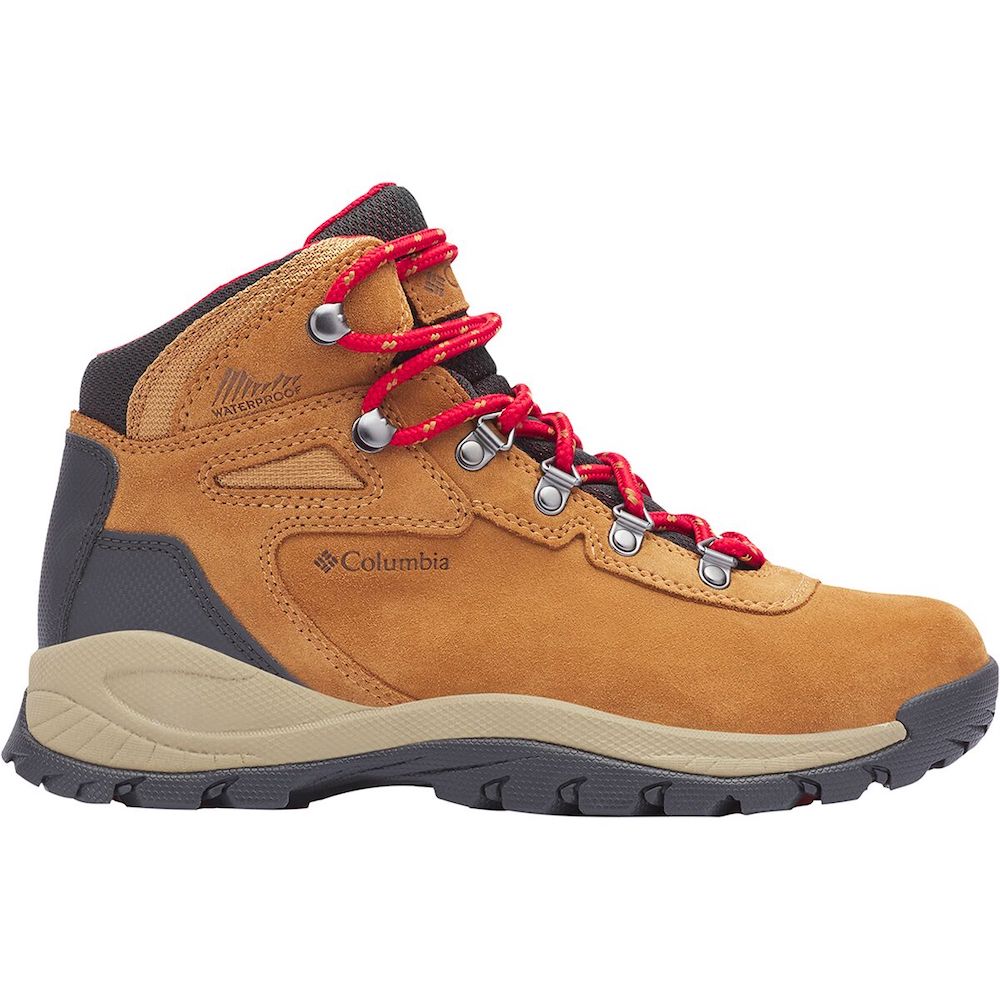
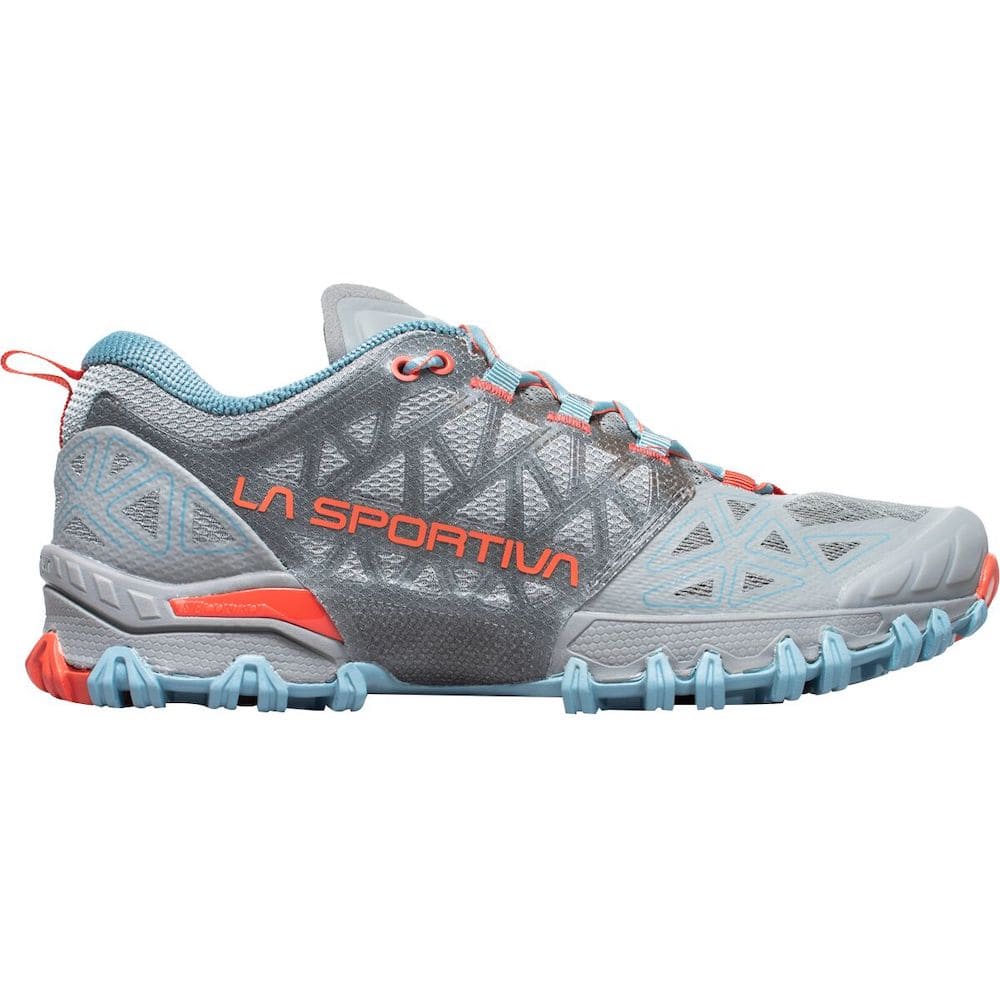
Choosing the right hiking footwear is so important, which is why we made a full guide on the best hiking shoes for women and men. This guide will help you choose what type of hiking shoe you need for the type of conditions, terrain, and the style of hiking you plan to undertake. In addition, one of my favorite pairs of hiking shoes are the Columbia Newton Ridge Plus Waterproof Amped Hiking Boots (great ankle support!) and I love the La Sportiva Bushido II Trail Running Shoes when opting for something lighter.
How To Prevent Blisters When Backpacking
Blisters are no fun! One of the best things you can do to prevent them is to wear your hiking shoes off-trail before you wear them backpacking. Walk around your neighborhood in them or try out a local walk where you can be close to your car if blisters start forming. You do not want to wear brand new hiking boots for the first time on a backpacking trip where you might be hiking for 10-20+ miles.
There are various products you can use to prevent blisters or treat them in the early stages.
These are some of the most common:
- HikeGoo – forms a frictionless layer between your skin and socks, protecting your feet from abrasion and preventing blisters. Foot Glide is another popular choice.
- Moleskin – reduces friction against your skin and stops blisters and hot spots from forming (when applied before hiking).
- Tape – similar to above, taping areas you know to get extra sensitive can prevent blisters from forming.
- Blister gel pads – these types of plasters can be used for prevention as well as treatment of blisters.
Already have a blister? This is a great article on how to treat blisters.
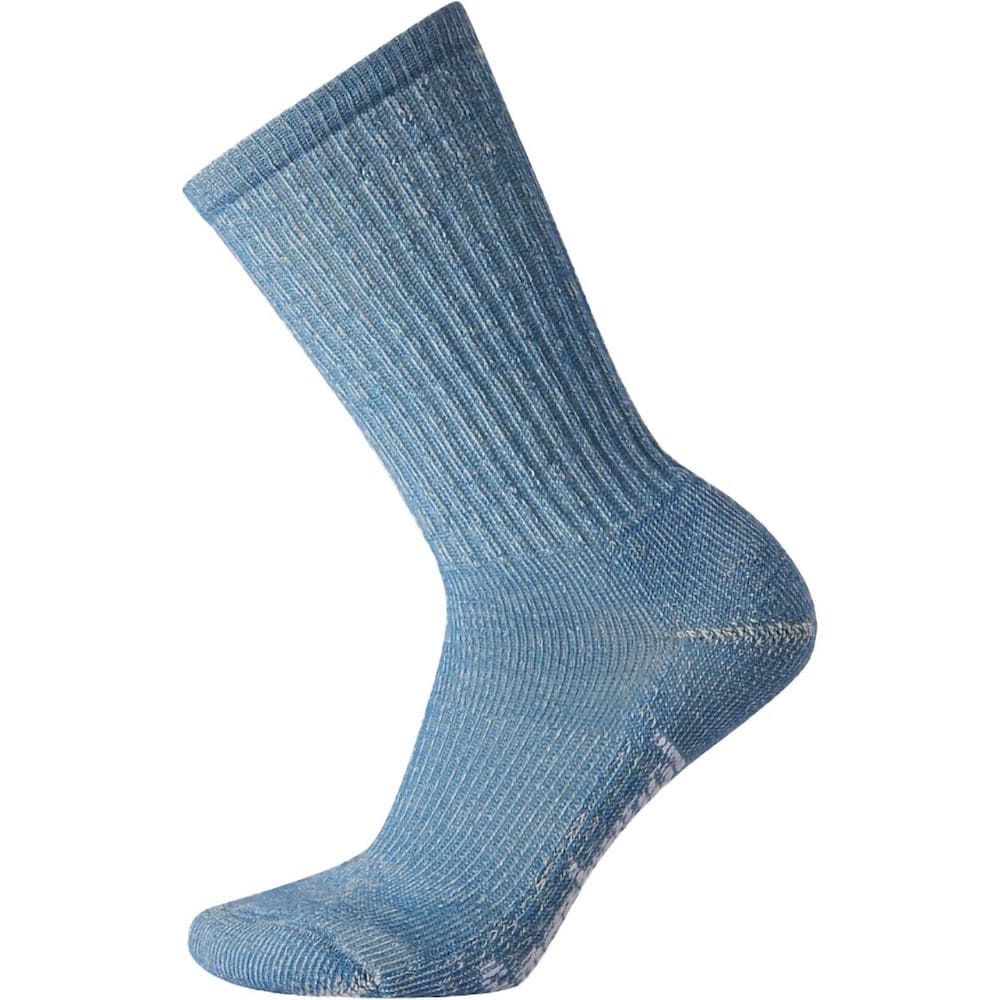
Another really key thing to prevent blisters is wearing merino wool socks. Why? Because they are breathable, moisture-wicking, quick-drying, and comfortable. I usually opt for socks that have a small amount of cushioning as I find it helps prevent pressure blisters, but do whatever feels right for your feet and shoes.
My go-to hiking socks when wearing boots are the Smartwool Classic Hike Light Cushion Crew Sock but I prefer the Smartwool Performance Hike Light Low Sock when wearing lower-profile trail runners. In winter I usually opt for something thicker like the Smartwool Hike Full Cushion Crew Sock. Pro tip: if you’re prone to blisters or particularly sweaty feet, try adding a pair of lightweight toe-sock liners under your hiking socks, like these ones from Injinji. They will help wick extra moisture, and avoid dreaded blisters between the toes. They might look a little funny, but I promise your feet will thank you, especially after many miles on the trail!
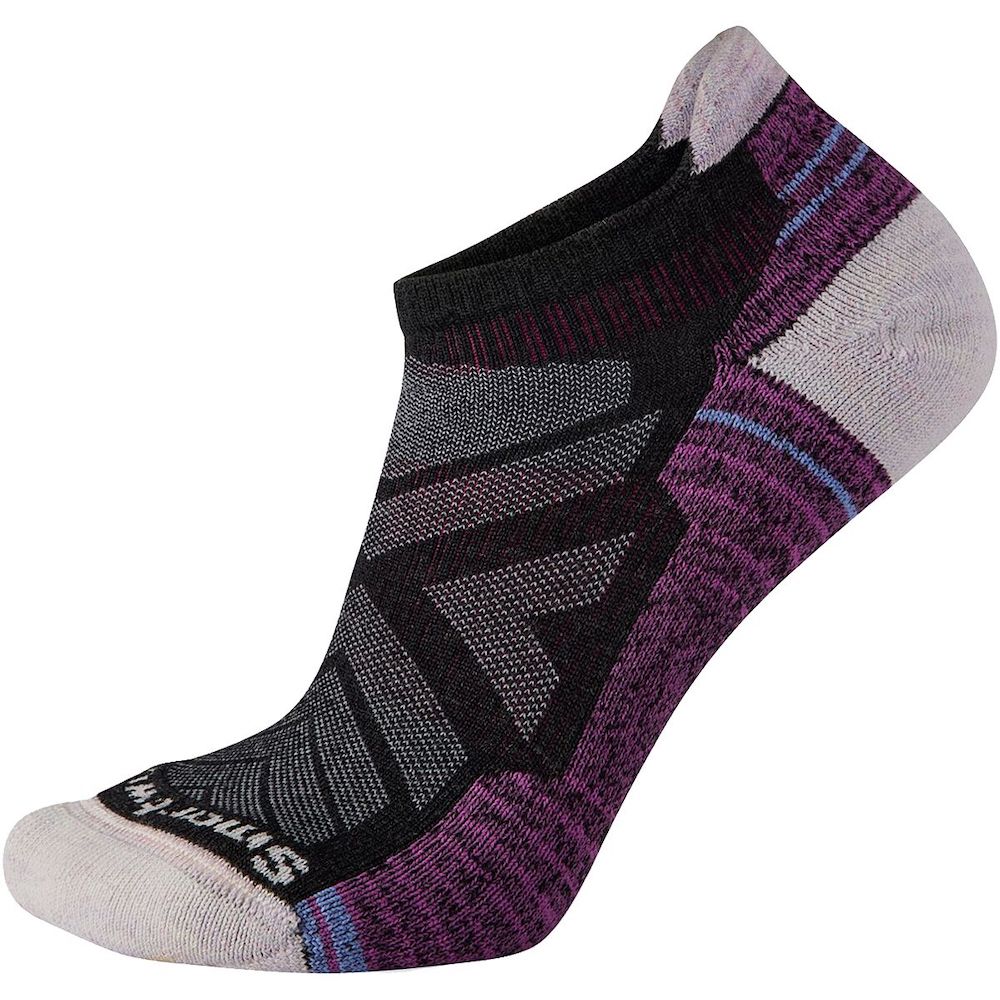
The graphic below provides some helpful tips on choosing the right pair of hiking socks.


Bringing Too Many Items Backpacking
One of the most common beginner backpacking mistakes to avoid is packing too many items! I definitely struggled with this when first starting out backpacking, and to this day have to remind myself that less is more. Don’t get me wrong though, packing the essentials is vital! I am more referring to packing extra items that aren’t really necessary or choosing heavy items instead of lightweight backpacking gear.
Do Not Pack These Items When Backpacking
Below are the most common things that people unnecessarily pack for backpacking trips. I would suggest you avoid these items and keep your backpack as lightweight as possible. In saying that, I often bring 1 or 2 small “luxury” items when backpacking (e.g. my Kindle), so you do you! Just make sure you can carry everything without ruining your body or making it an unpleasant experience.
- More than one hiking outfit. Trust me, for a short backpacking trip you definitely do not need more than one hiking outfit. It’s common practice to hike in the same shirt and pants/shorts everyday because packing a change of clothes for each day is way too heavy.
- Physical books. Again, this is a personal preference, but I would suggest reading on your phone or a lightweight Kindle and to leave heavy paper books at home. These days you can download most guidebooks in ebook format and use apps like Gaia GPS for navigation. Click here to get 20% off a Gaia GPS membership.
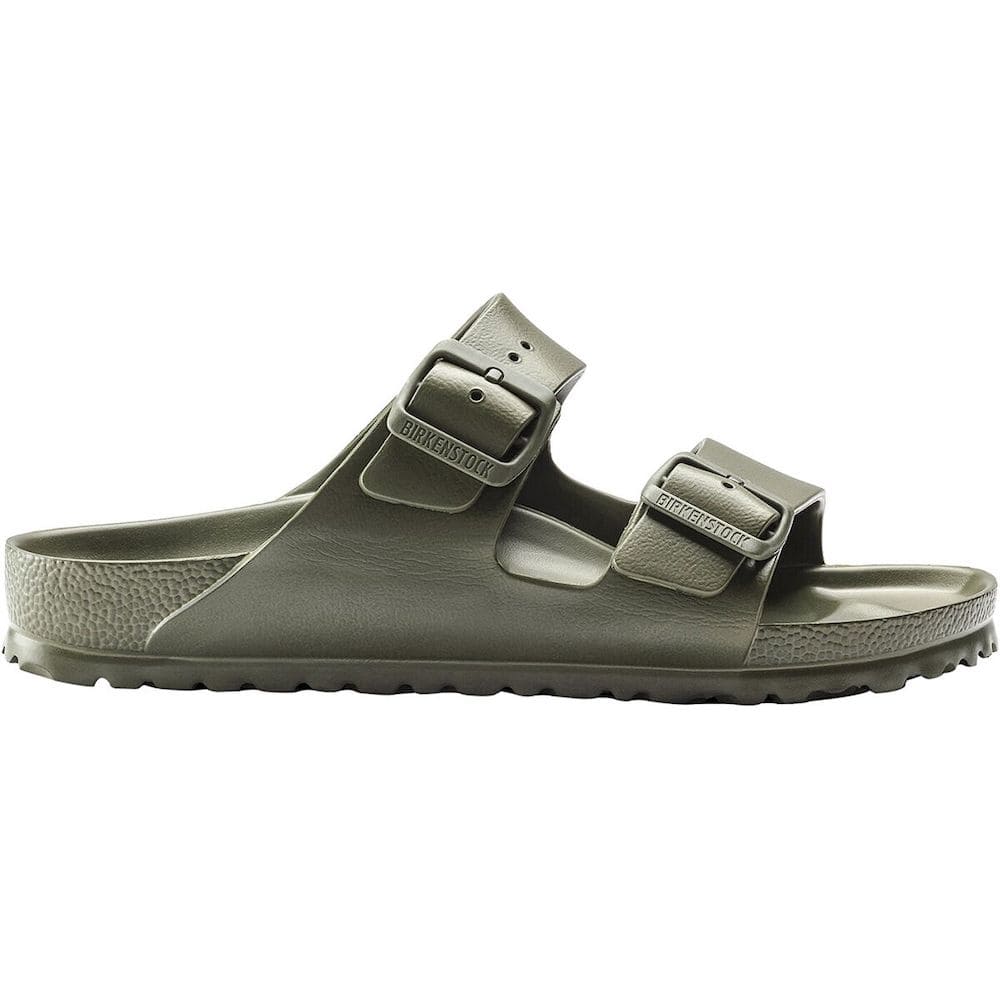
- Heavy camp sandals (e.g. 2 lbs Chacos). This is one of the easiest things to cut down weight on! Either skimp on the camp shoes or opt for something much lighter in weight, like Xero Z Trail EV Sandals (9 ounces a pair), or lightweight Birkenstock sandals.
- Full-sized toiletries. Make sure to decant things like sunscreen, bug spray, face cream, etc. into smaller sized containers so that you’re not lugging around heavy/large bottles. I like using the Nalgene 1 oz containers and contact lens cases for small amounts of liquids and creams. I would also ditch things like deodorant unless you have a very small travel sized version. Click here for more outdoor hygiene tips for hikers and backpackers.
What To Pack For a Backpacking Trip
I have an entire blog post on what to pack for a backpacking trip, be sure to give that a read! I’ve also listed the key items below, which you can download as a printable backpacking checklist here! Note that my suggestions are for three-season/summer camping and information about what to wear when backpacking is listed in the next section. If you want to know more about winter backpacking then be sure to check out my winter-specific guide to hiking and backcountry camping.
Choosing your backpacking gear depends on a few factors, like how much you want to carry (weight), how long you’ll be backpacking, and the cost of gear. I know that backpacking gear is quite expensive, so I’m sharing some budget-friendly gear recommendations as well. Since you’ll be carrying all of your gear (clothing, food, shelter.. everything!) you’ll want to spend some time determining your budget and researching gear. And I’m here to help with that!
Don’t forget to use code RENEE15 to get 15% off your first Backcountry.com order! (some exclusions apply) Click here to shop my favorites.
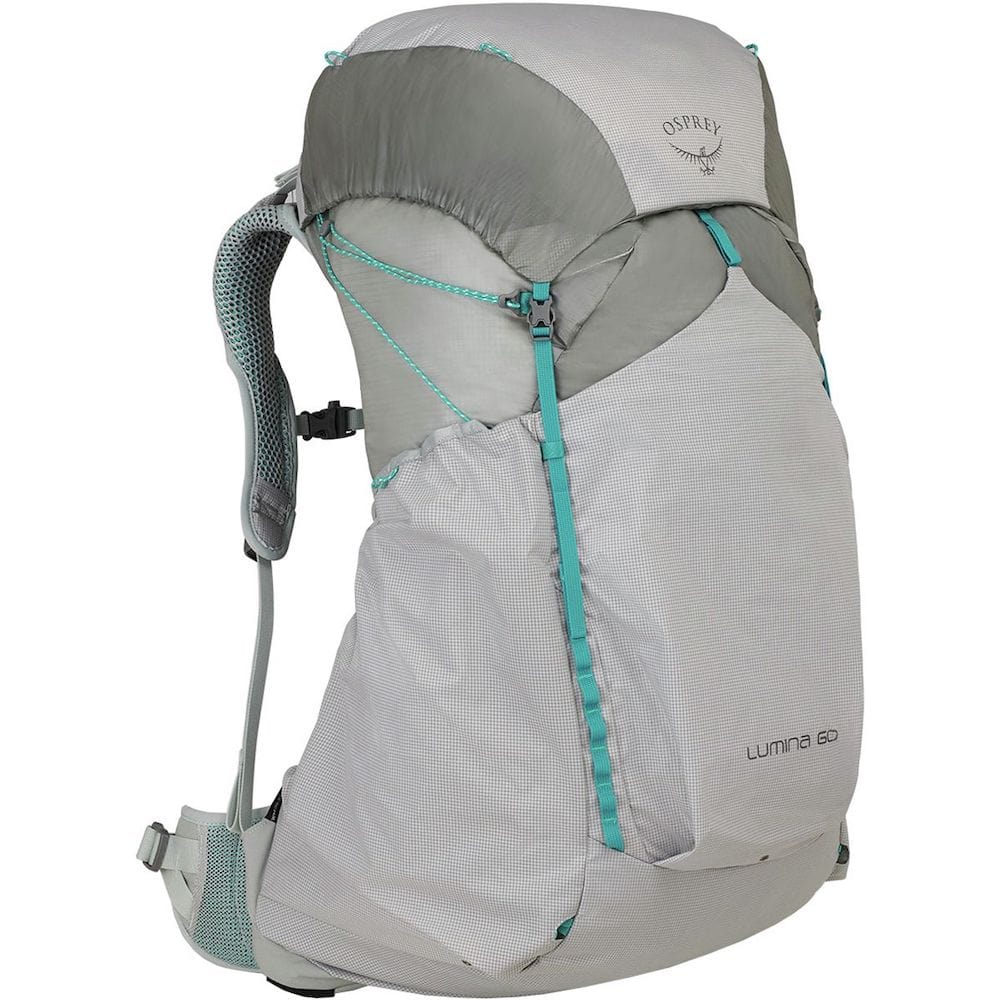
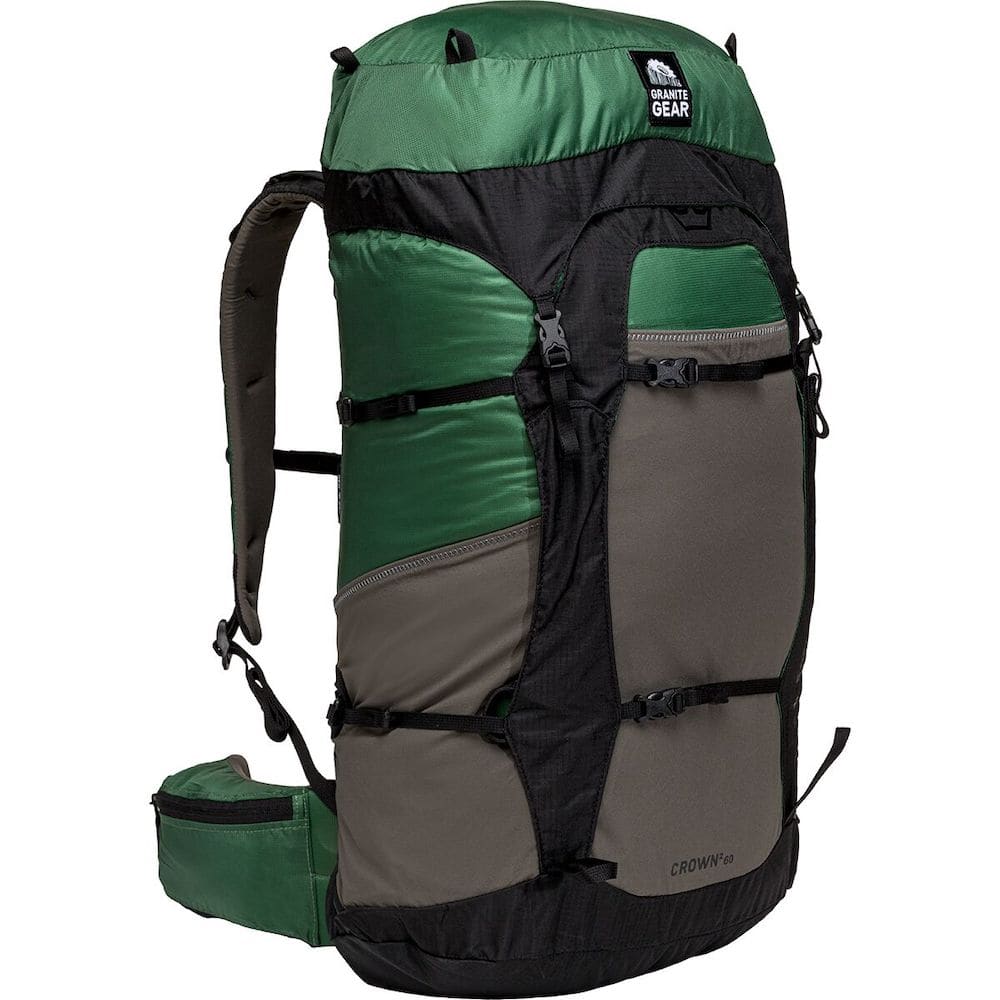
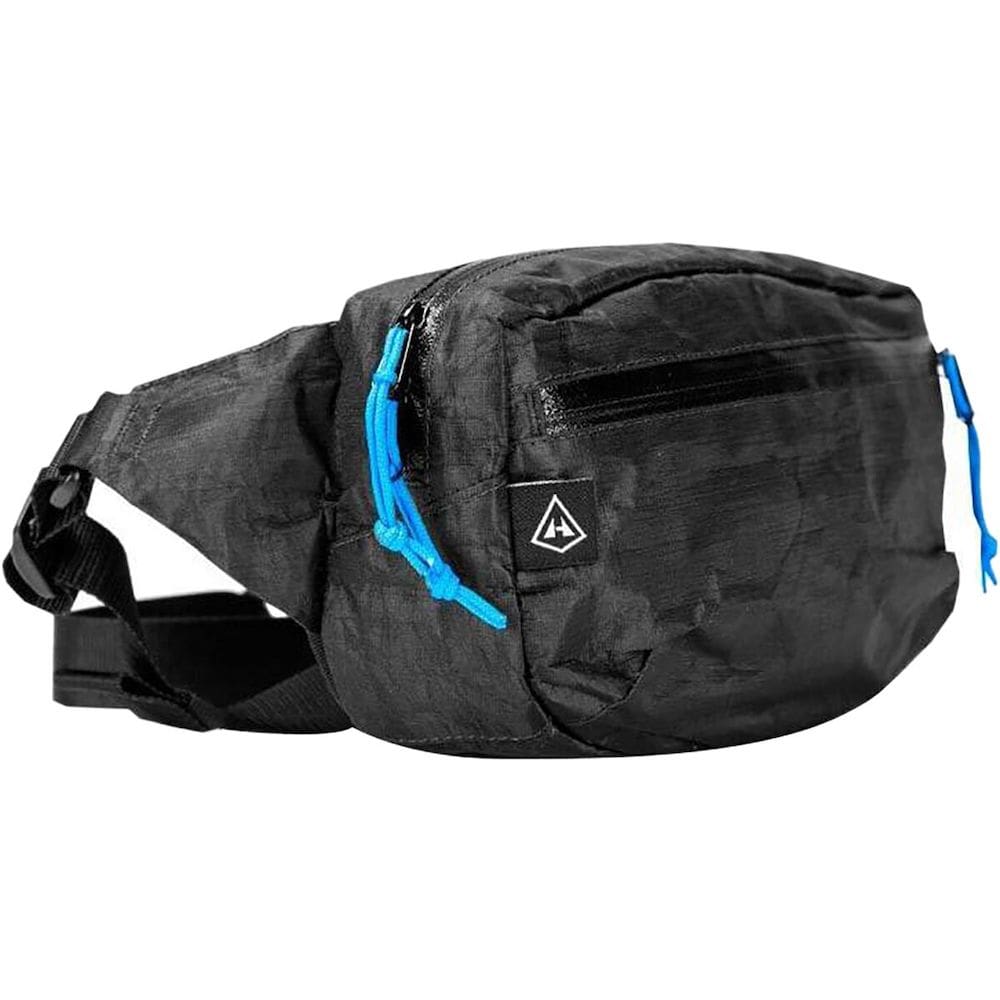
Backpack:
My favorite lightweight pack for backcountry camping is the Osprey Lumina 60L Backpack (men’s version available here.) For a bit more support and features, I like the Osprey Kyte 46L Backpack (men’s version available here.) If you want to pack fast and light, Hyperlite Mountain Gear makes great ultralight and durable backpacks. I recommend the Granite Gear Crown 2 60L Backpack as a budget-friendly option for a good backpacking pack. I often also use the Hyperlite Versa Hip Pack attached to my pack’s waist strap for easy access to essentials (aka snacks and chapstick!)
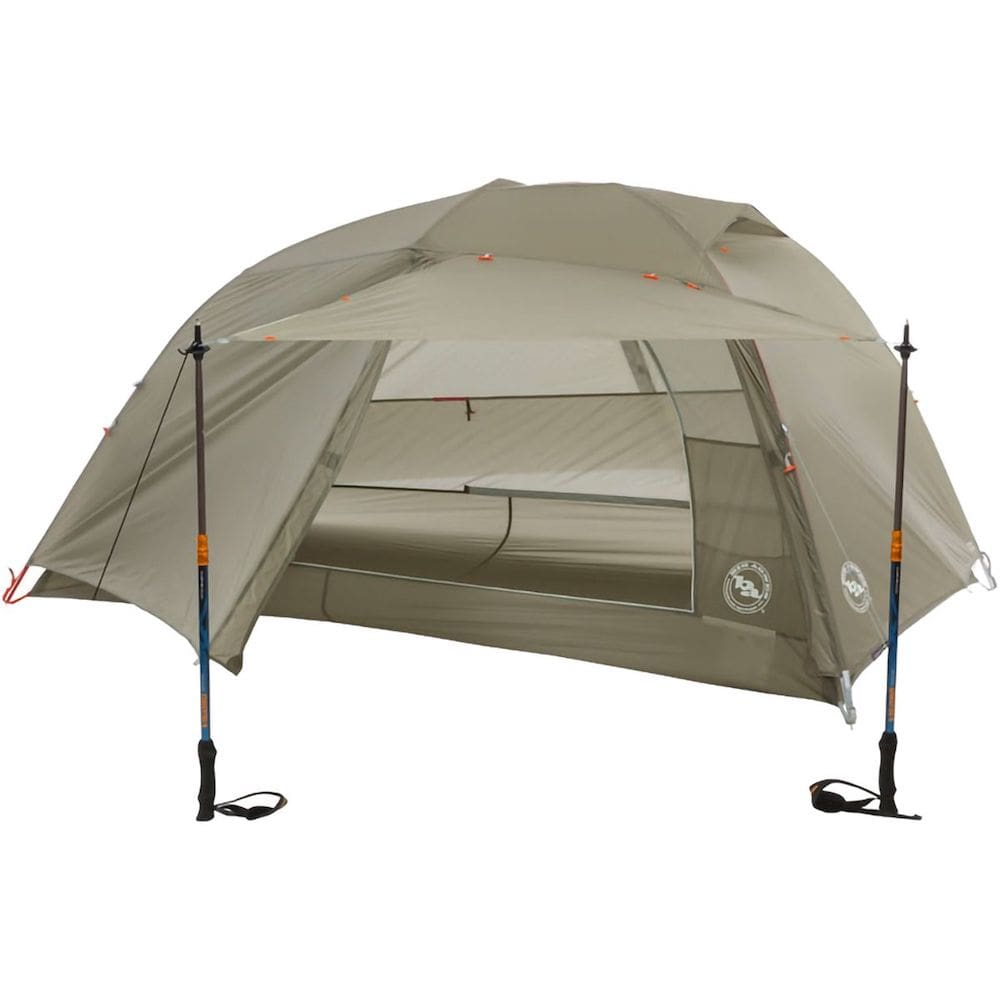
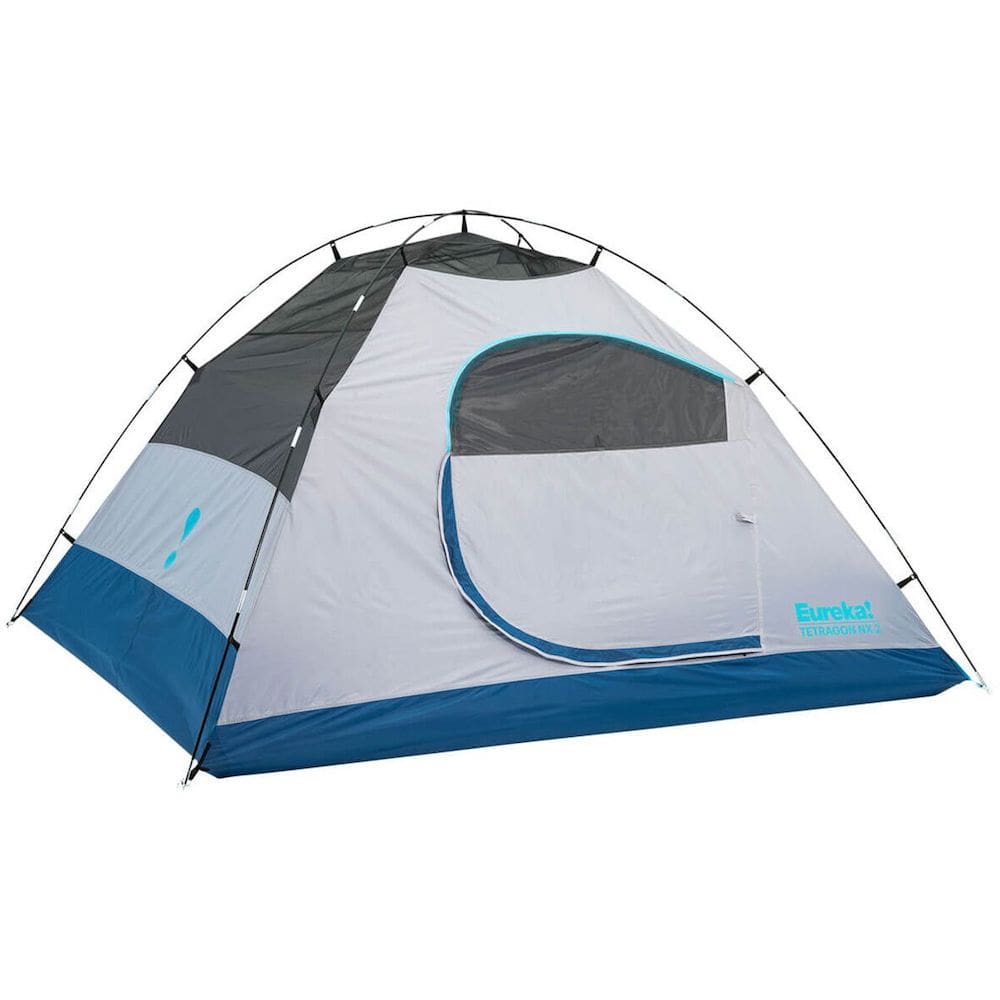
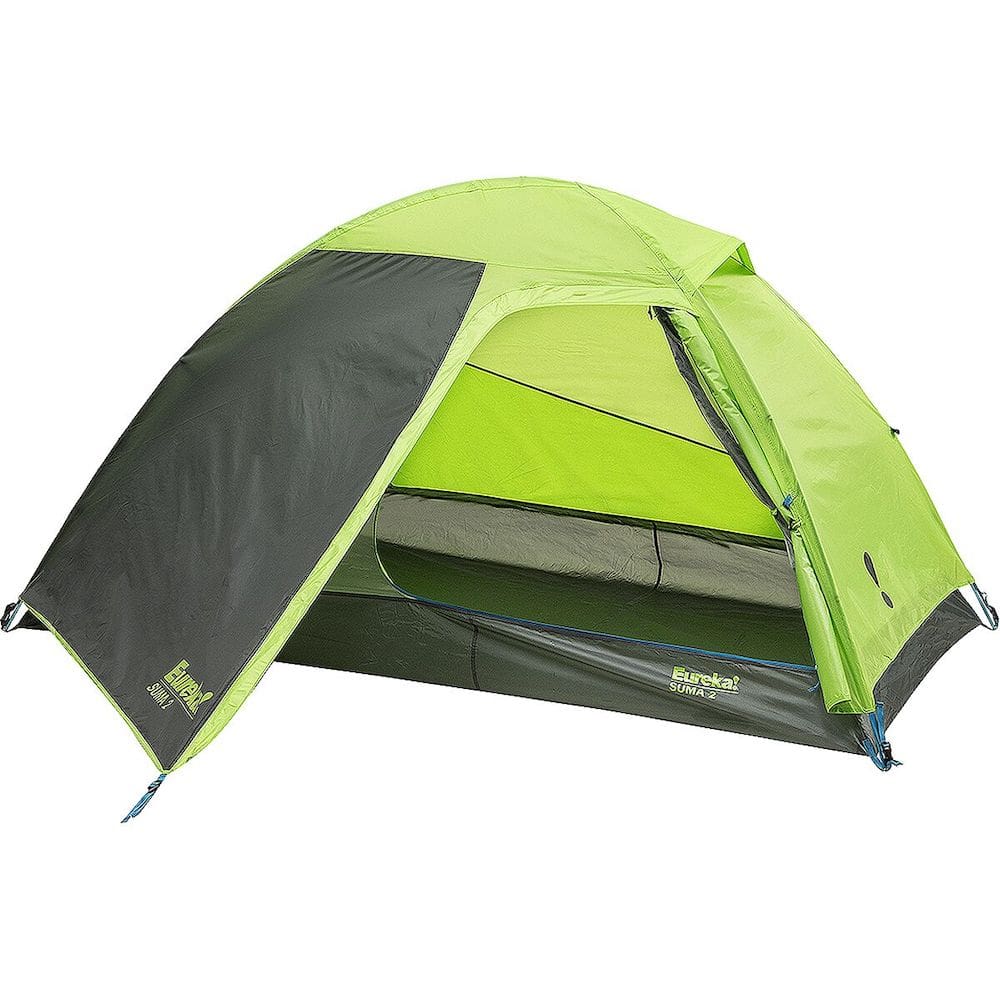
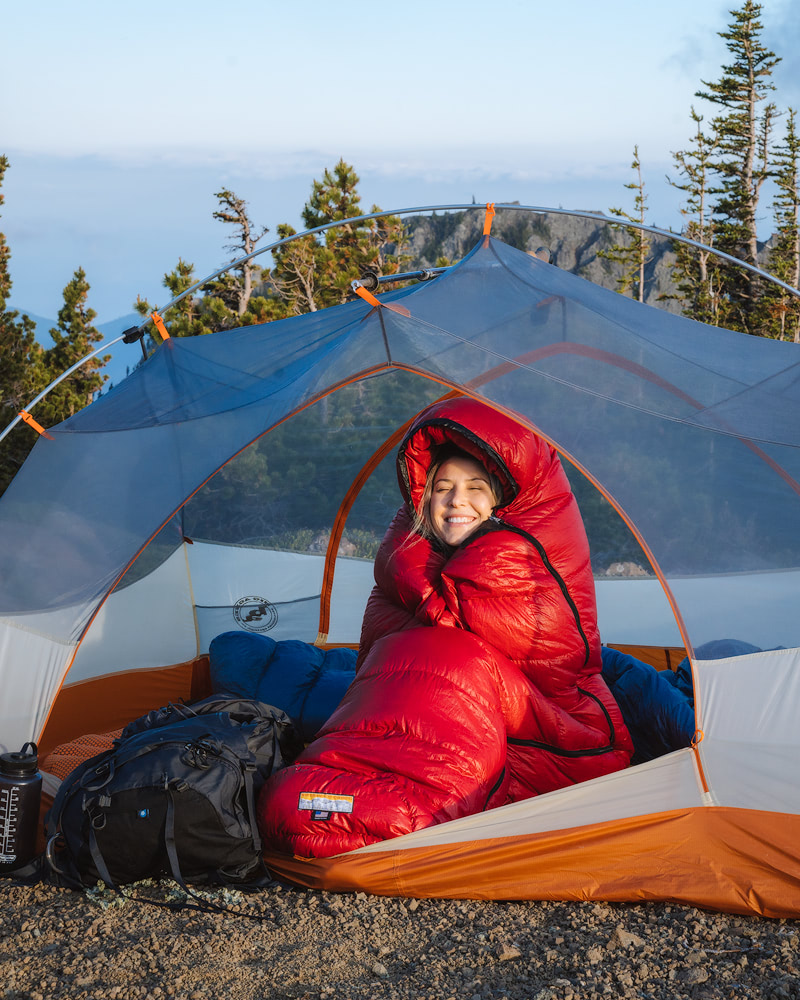
Tent:
Choosing a backpacking tent is probably one of the most challenging pieces of equipment. This is often the heaviest single piece of equipment, and ultralight tents can be pretty pricey. But, it’s absolutely worth the investment if you’ll be using it frequently! My favorite 2-person tent is the Big Agnes Copper Spur HV UL 2, perfect for sleeping 2 people in most seasons. The Eureka Tetragon NX 2 and Eureka Suma Tent are both good choices for a more affordable backpacking tent.
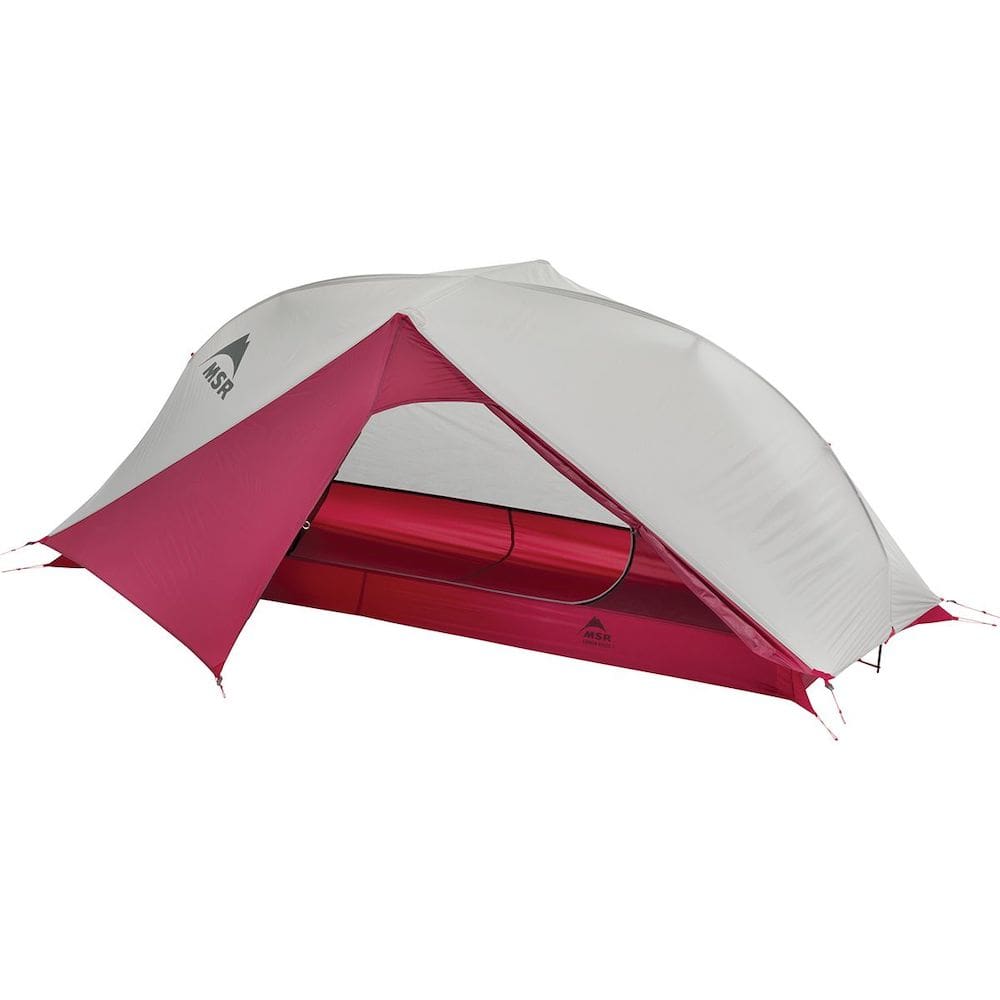
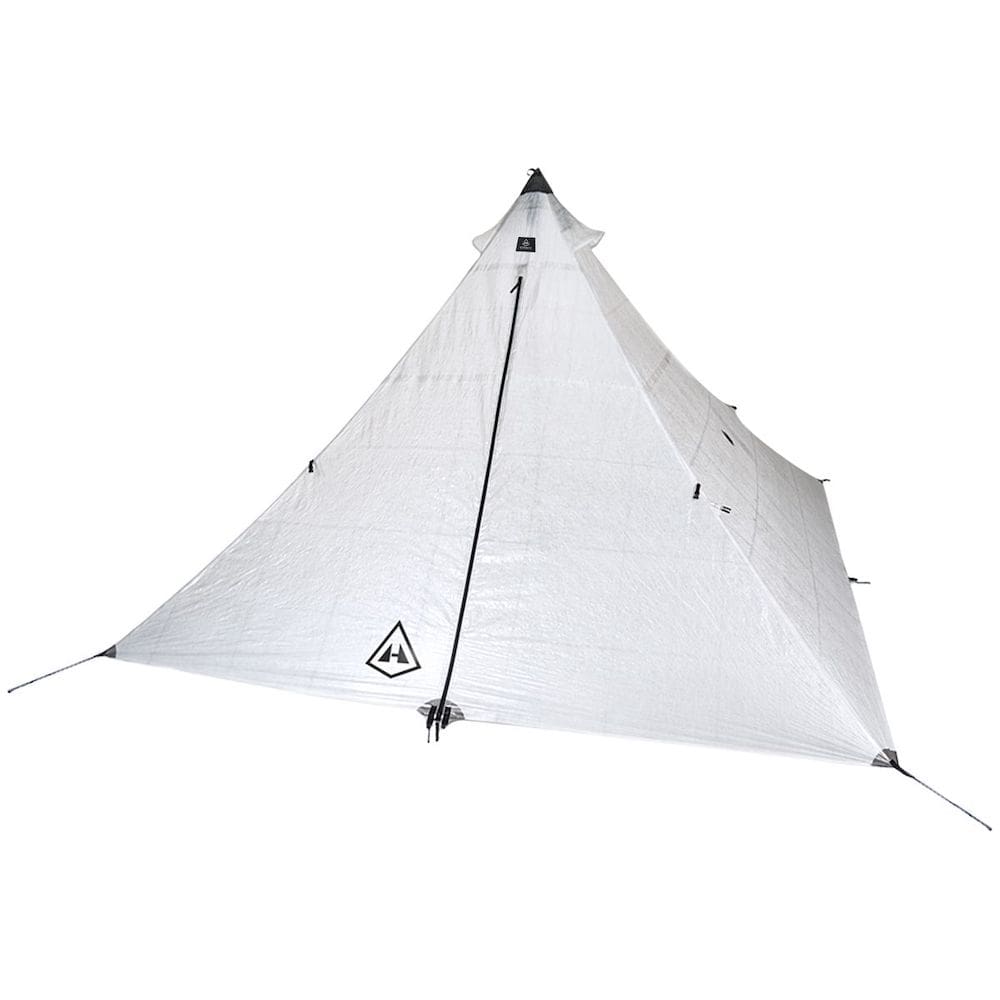
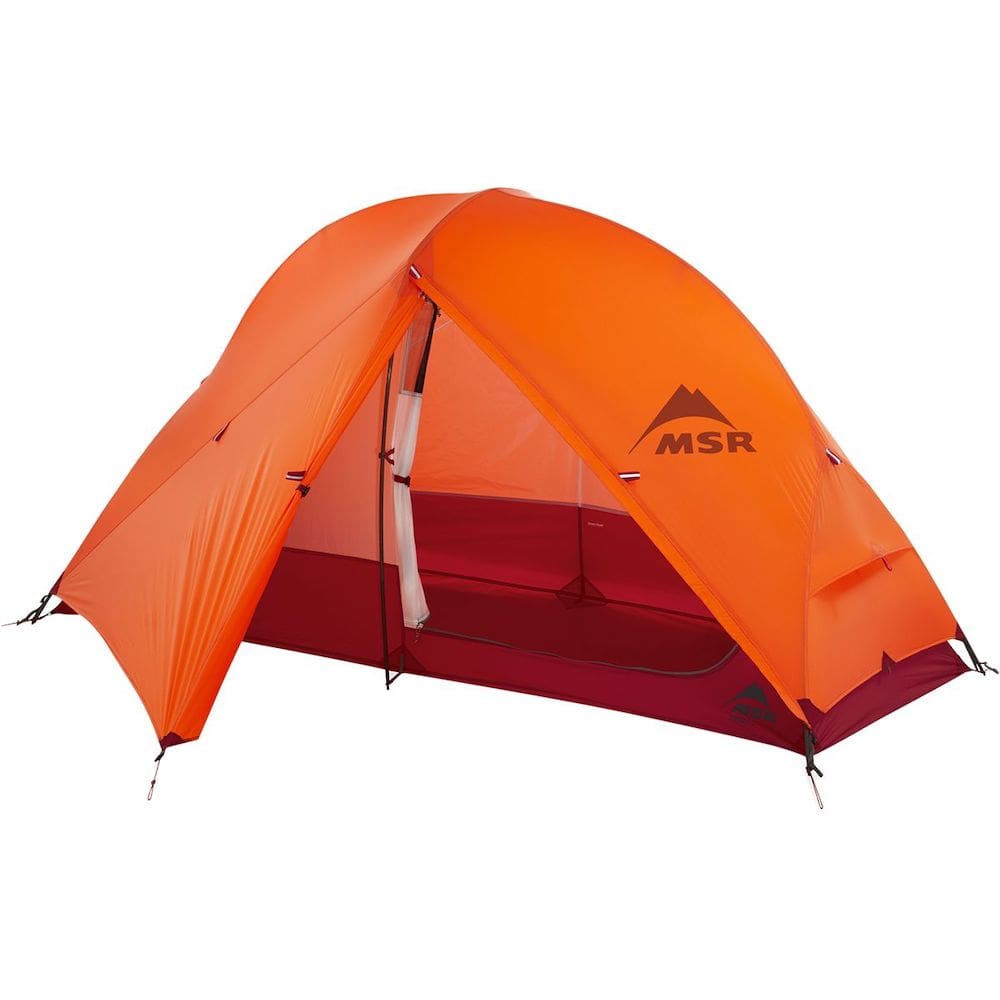
If I am backpacking by myself, I love the MSR Carbon Reflex 1 Tent or the Marmot Tungsten UL Tent, which is a little easier on the budget. If you have the ability to invest in an ultralight tent, the Hyperlite UltaMid 2 Shelter is an amazing option for an ultralight 2-person tent. Though it’s not necessary for a bit of snow and cold weather, you can also invest in a heavy-duty 4-season tent like the MSR Access Tent for more extreme winter adventures with heavy snow and harsh winds.
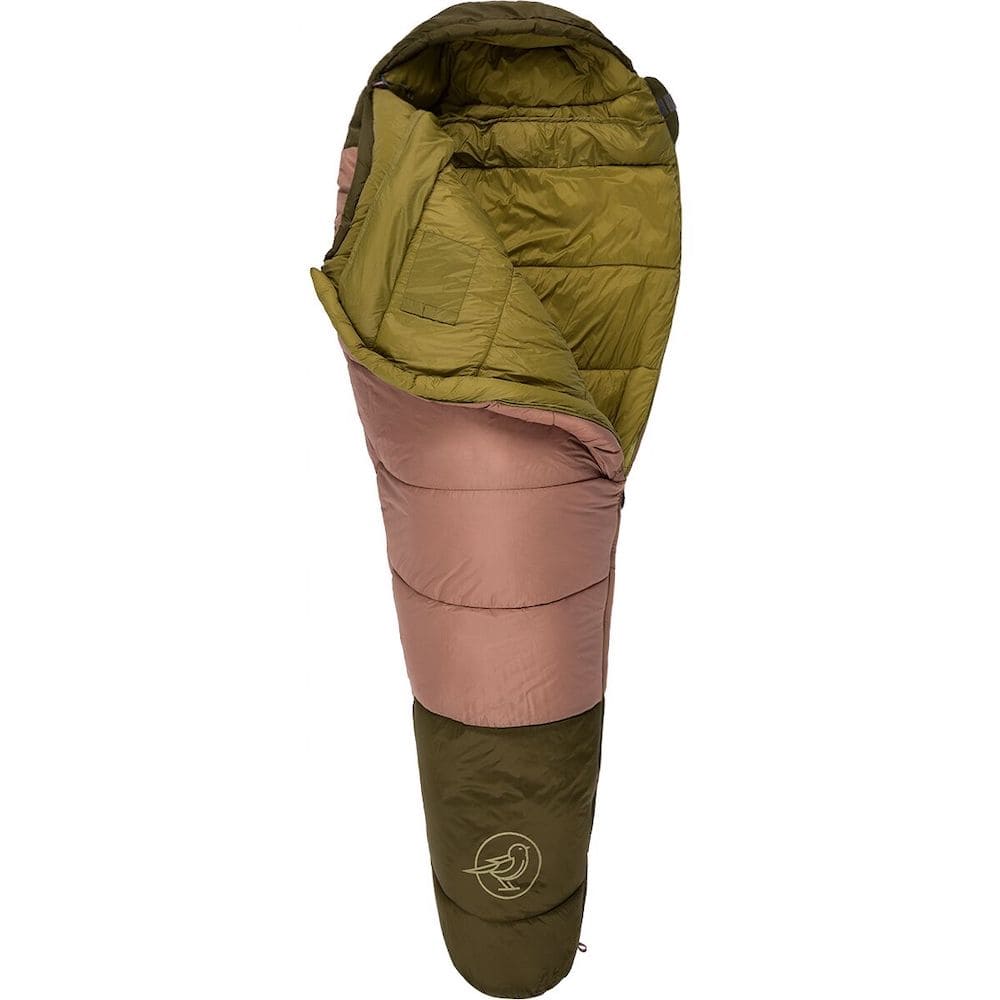
Sleeping Bag:
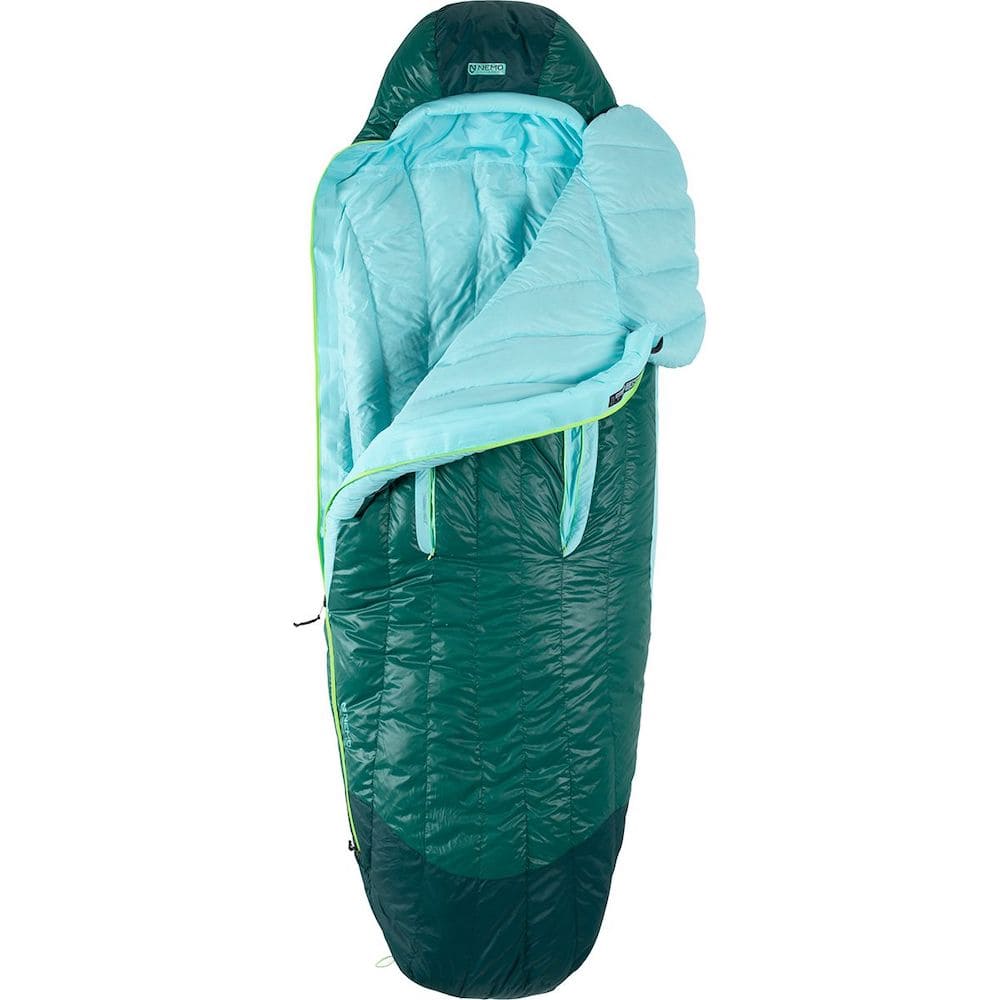
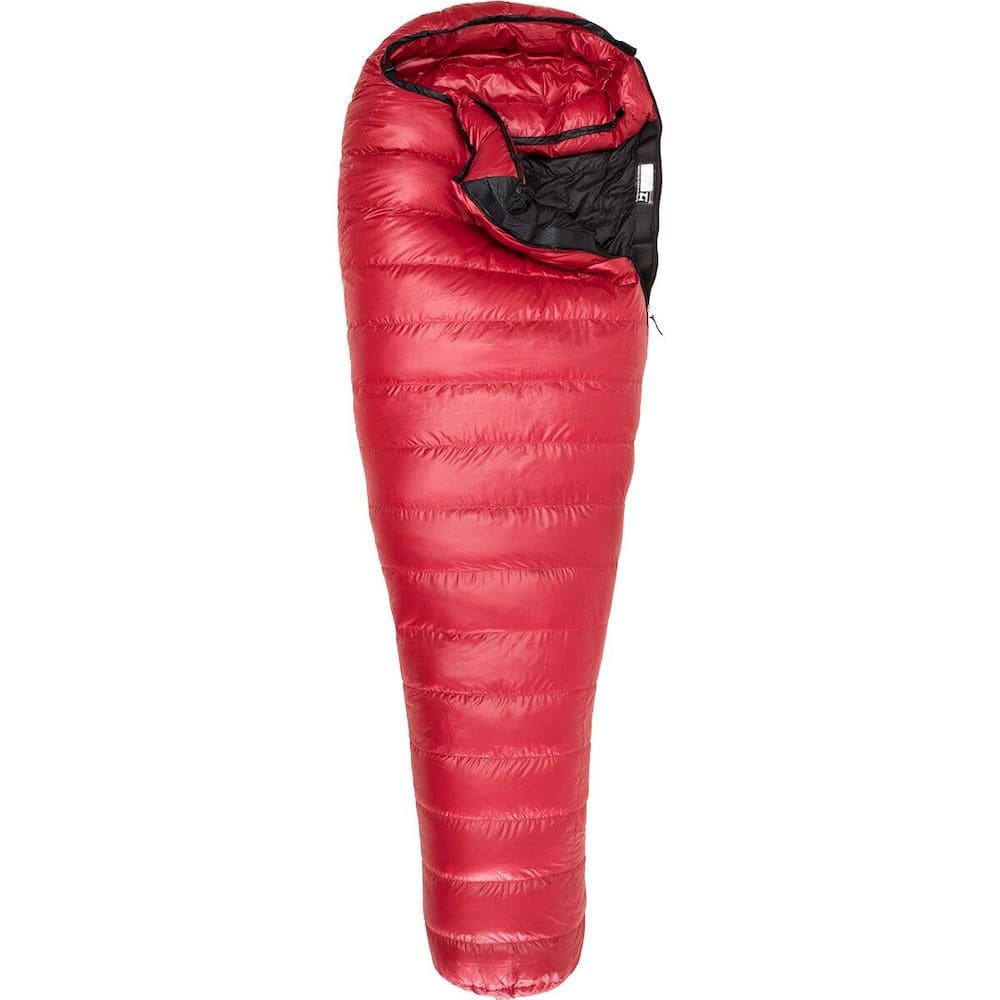
Similar to choosing a tent, you have a lot of decisions when it comes to selecting a sleeping bag, like warmth rating and fill material (down vs. synthetic.) For 3-season camping (aka, most of the year other than intense winter camping) the NEMO Disco 30 Sleeping Bag is a great choice (men’s version available here.) The Marmot Ouray 0F Down Sleeping Bag is a popular choice for winter camping (find the men’s version here.) My favorite option for 3-season backpacking is the Western Mountaineering Apache 15F Down Sleeping Bag – it’s pricey, but I have definitely got my money’s worth as I use it almost year-round! There are definitely some great affordable options out there, like the Stoic Groundwork Sleeping Bag and the Kelty Cosmic 20F Sleeping Bag (men’s version here.) One of my top tips is to use a compression bag such as the Sea To Summit Ultra-Sil Compression Dry Sack to keep your sleeping bag as compact as possible in your backpack (as well as protected from any moisture).
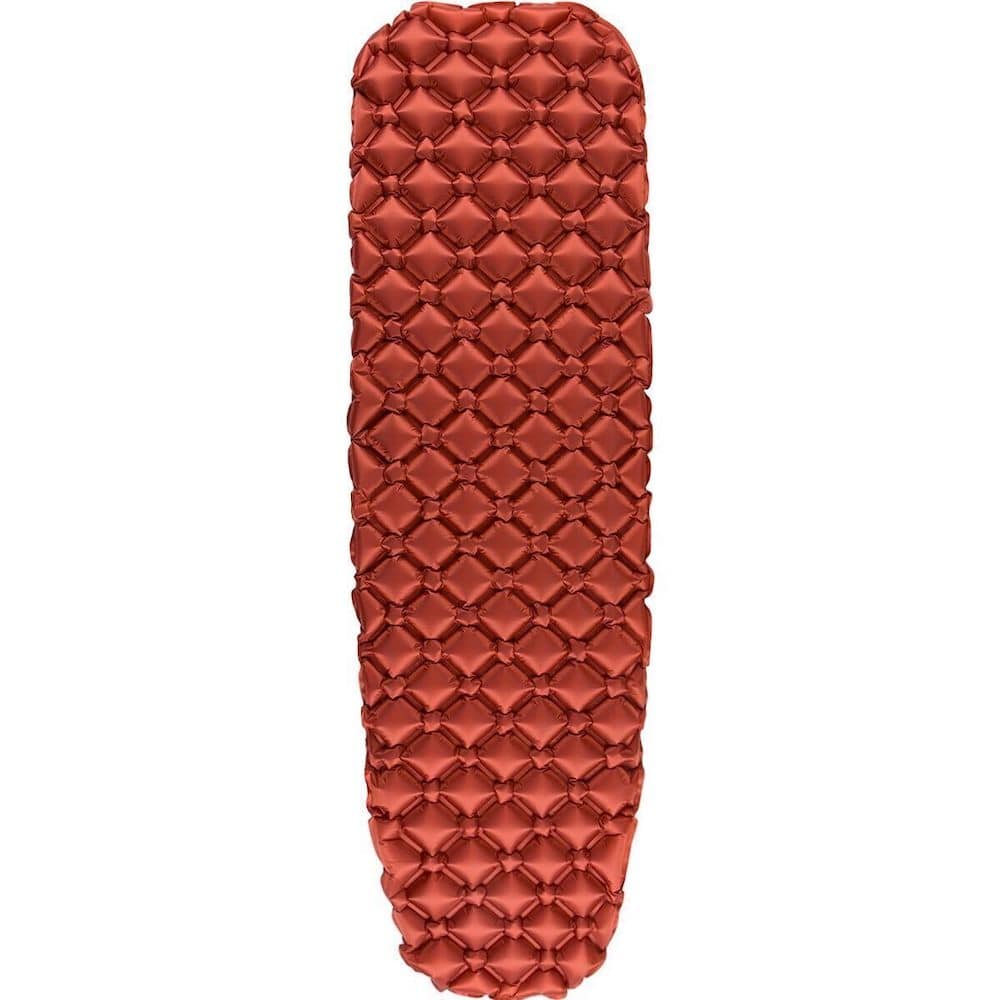
Sleeping Pad:
My favorite sleeping pad for summer backpacking and the shoulder seasons is the Sea to Summit Ether Light Insulated Sleeping Pad. I recommend this one a lot because it’s a women’s specific shape and great for side sleepers which can be tricky! They also make a men’s version which I also recommend. In the super cold months I use the Sea to Summit Ether Extreme with a closed cell pad underneath for extra warmth. For a few budget options, check out the Therm-a-Rest Trail Scout, the Stoic Clutch Air Mat, or the Therm-a-Rest Z Lite Sol.


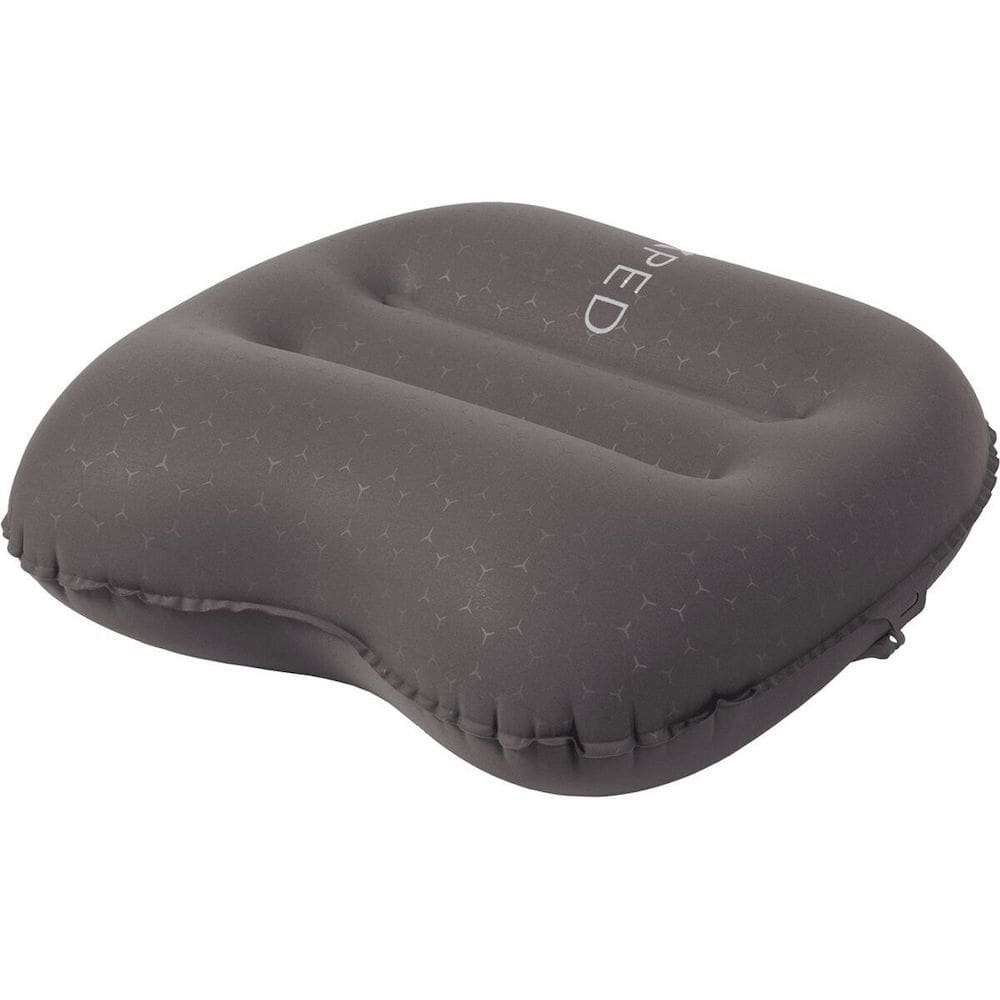
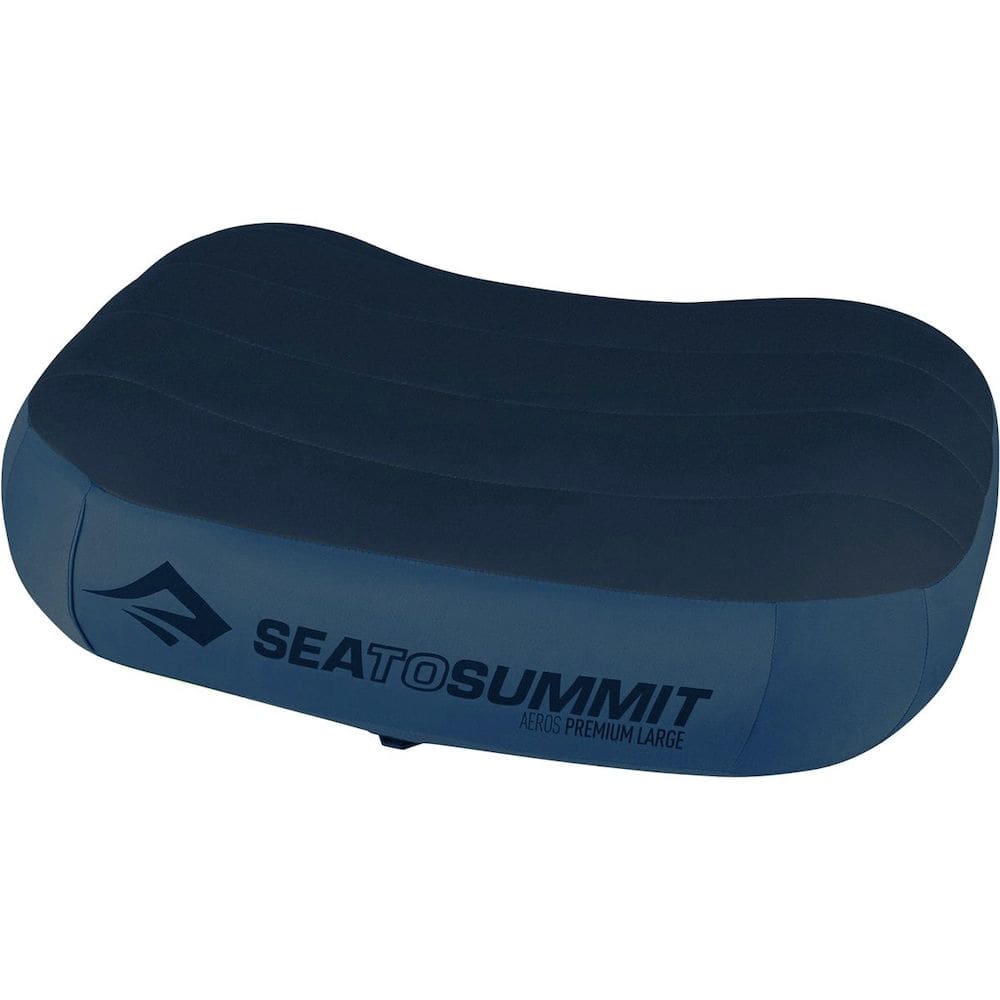
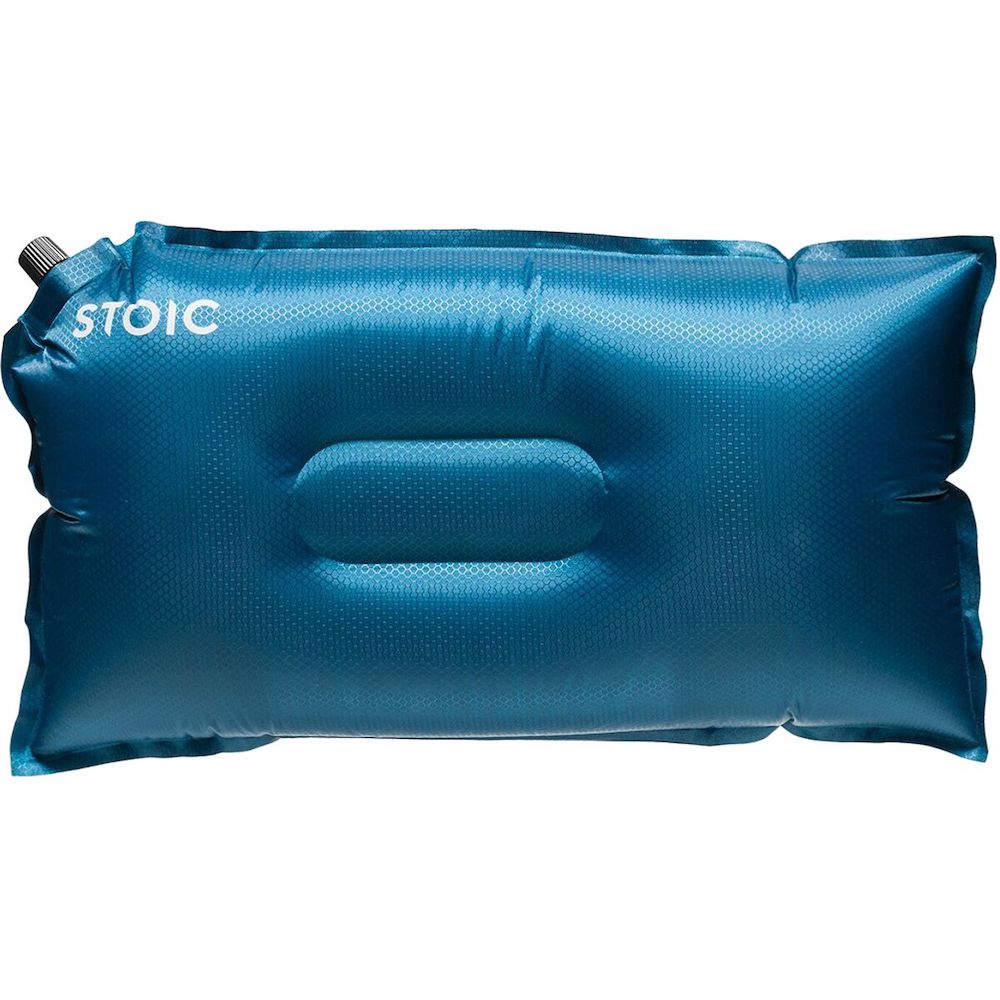
Camp pillow:
Packing a camp pillow is definitely more of a luxury item, but can be such a nice treat after a long day of hiking. Lots of hikers use their down jacket as a makeshift pillow, but I almost always pack a camp pillow. I like to be comfortable! The Exped Ultra Pillow is a great ultralight option, while the Sea To Summit Aeros Premium Pillow is even more deluxe and comfortable. For a more affordable option, the Stoic Groundwork Pillow is still lightweight and very comfy!
Cooking Gear
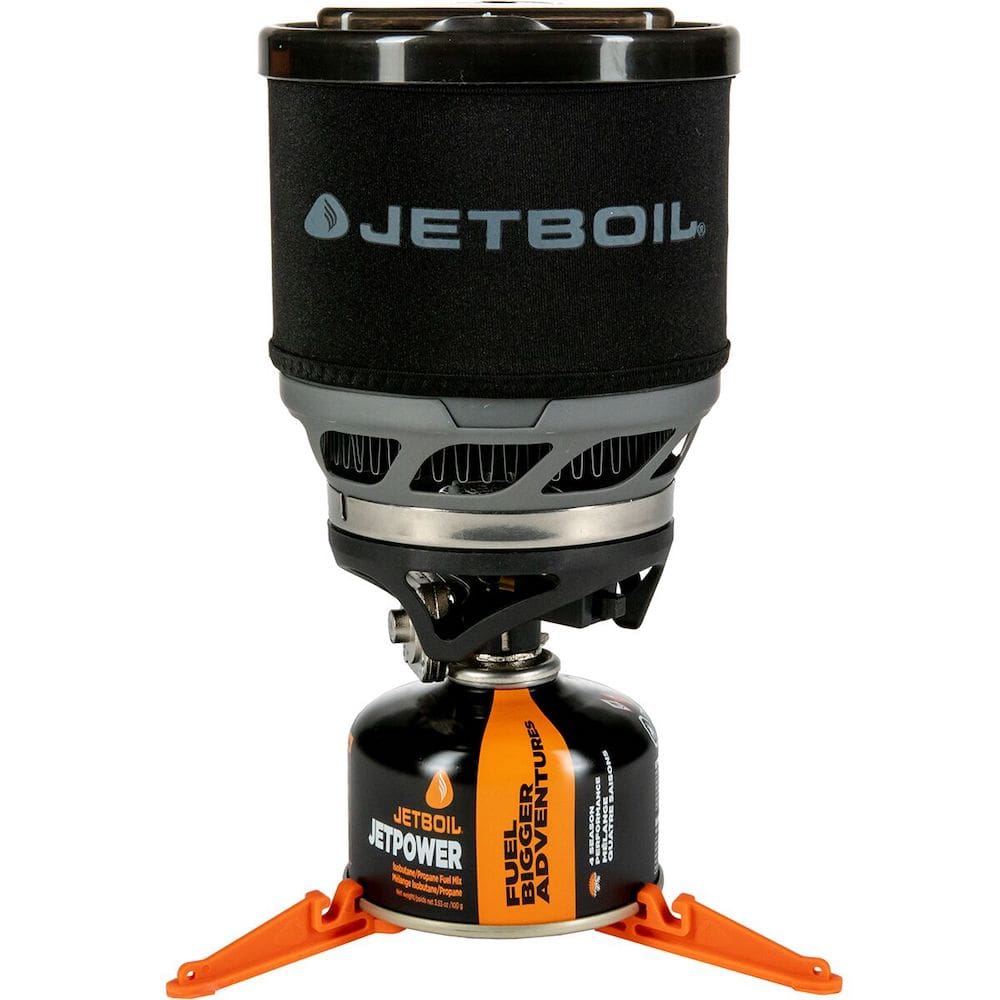
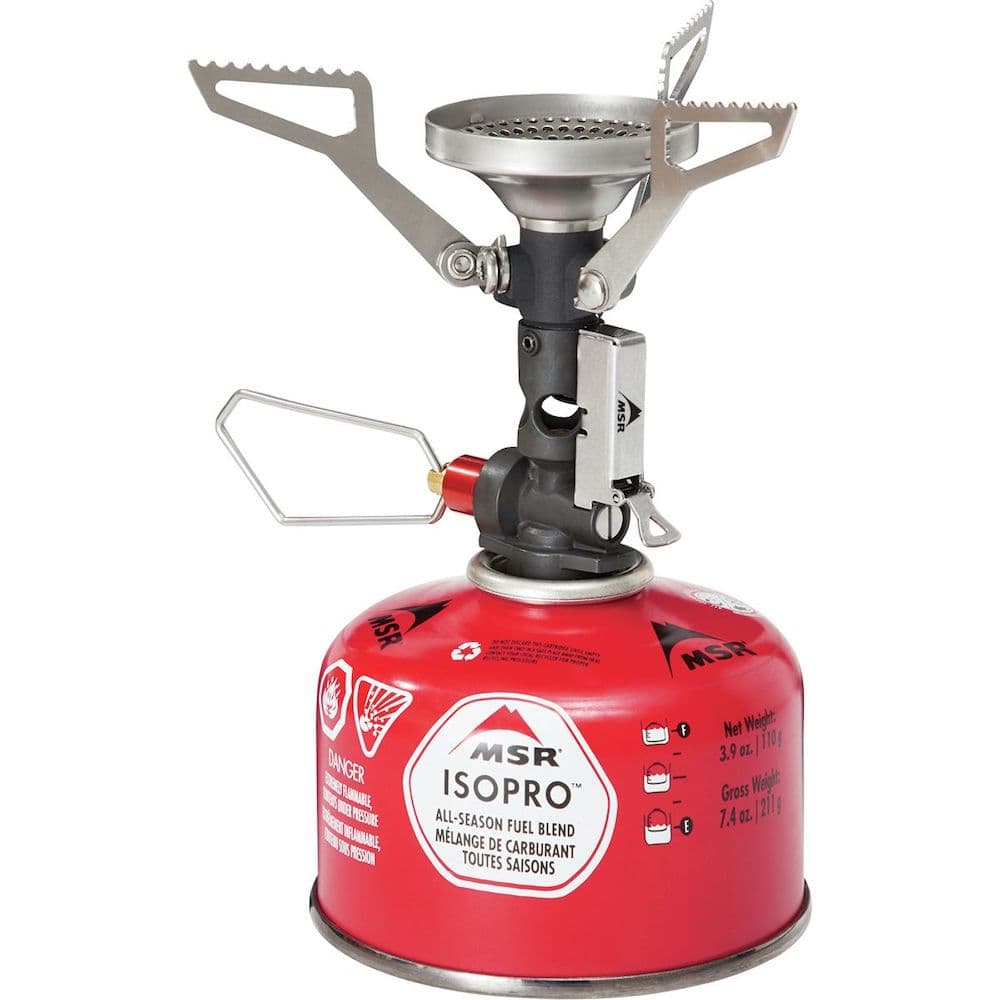
My favorite for fast and easy cooking while on the trail is the Jetboil MiniMo Cooking System. It’s perfect for dehydrated meals and boils water so quickly for tea or coffee when you need to warm up on a chilly morning. The Jetboil Stash is another lightweight option great for one-pot meals. For an ultralight option, the MSR Pocket Rocket is a popular choice, and it comes in a kit option as well.
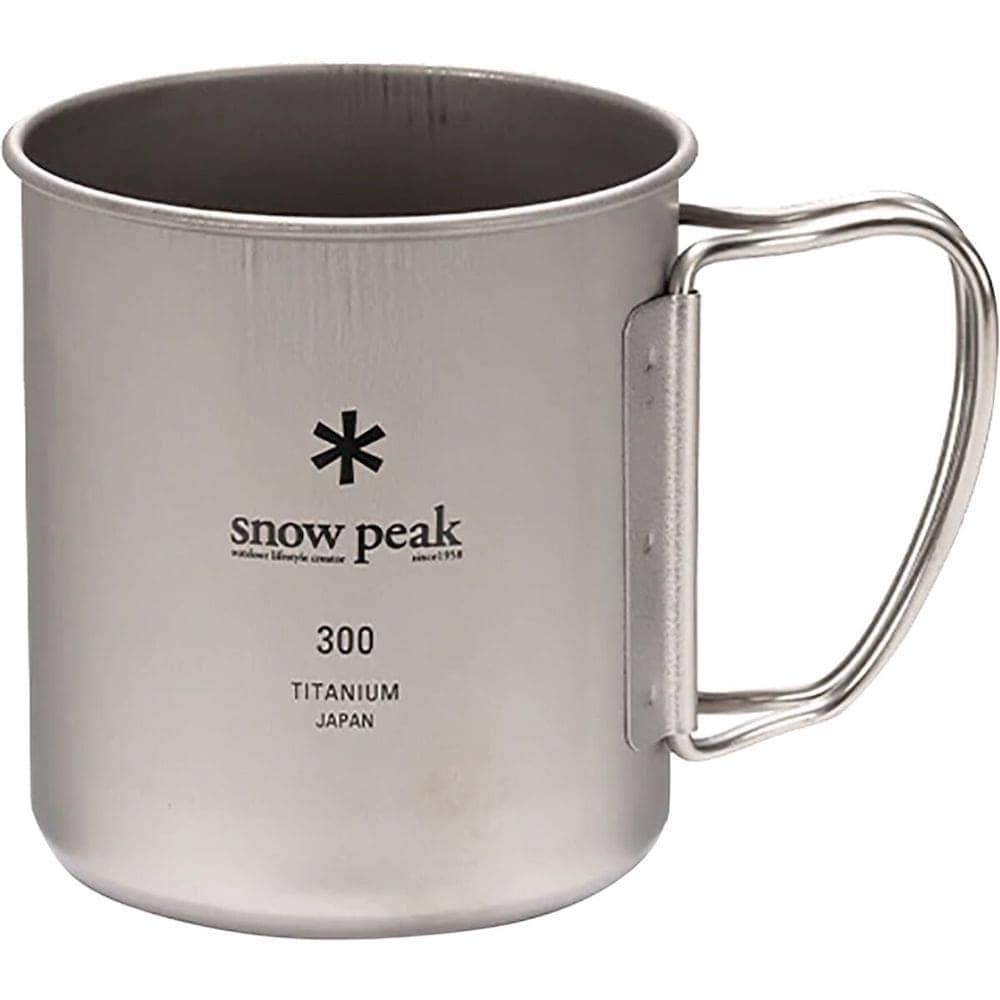
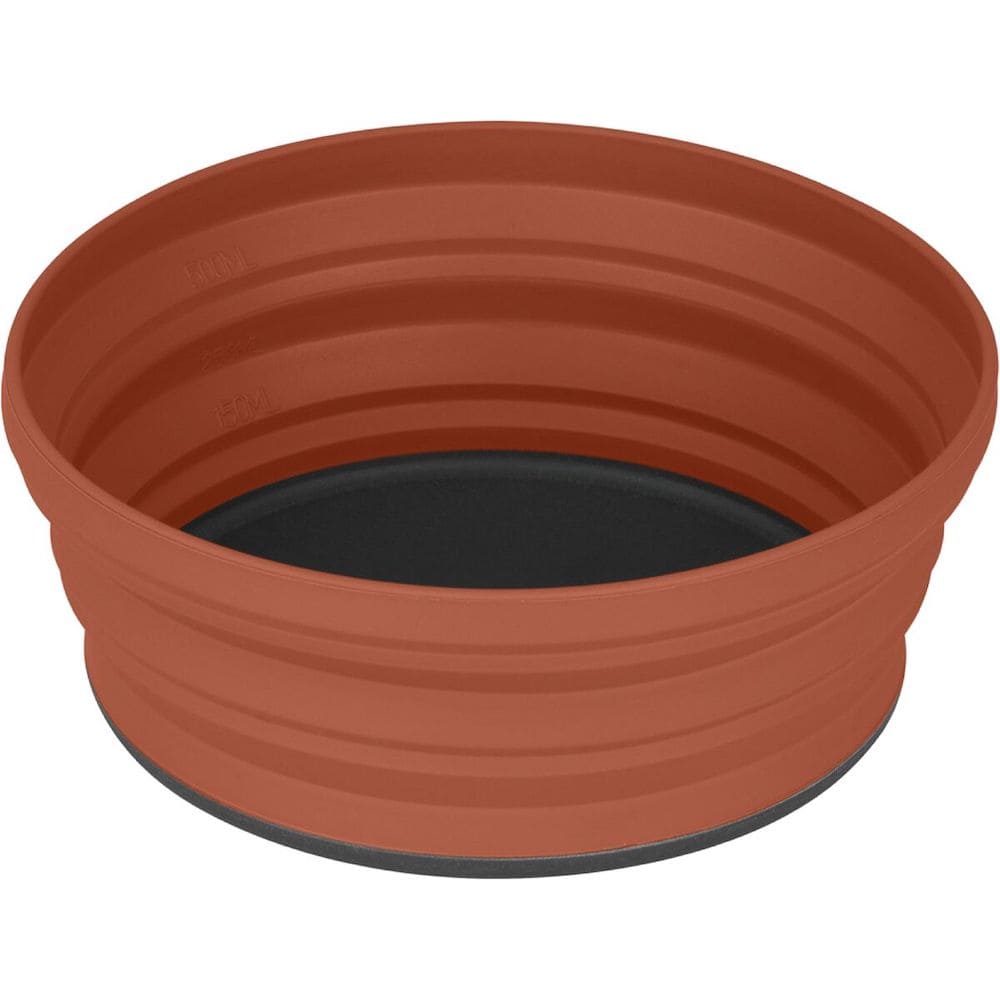
An ultralight mug is essential, and there are a lot of options out there. I personally love the Snow Peak Titanium Single Wall Mug, but the GSI Outdoors Infinity Mug and Sea to Summit Cool Grip Collapsible Mug are both great options as well. I always pack a spork, I love the Snow Peak Titanium Spork or Sea to Summit Spork and Knife for lightweight options. The Sea to Summit Collapsible Bowl is perfect for chowing down on some easy backpacking meals and then packing away.

Food
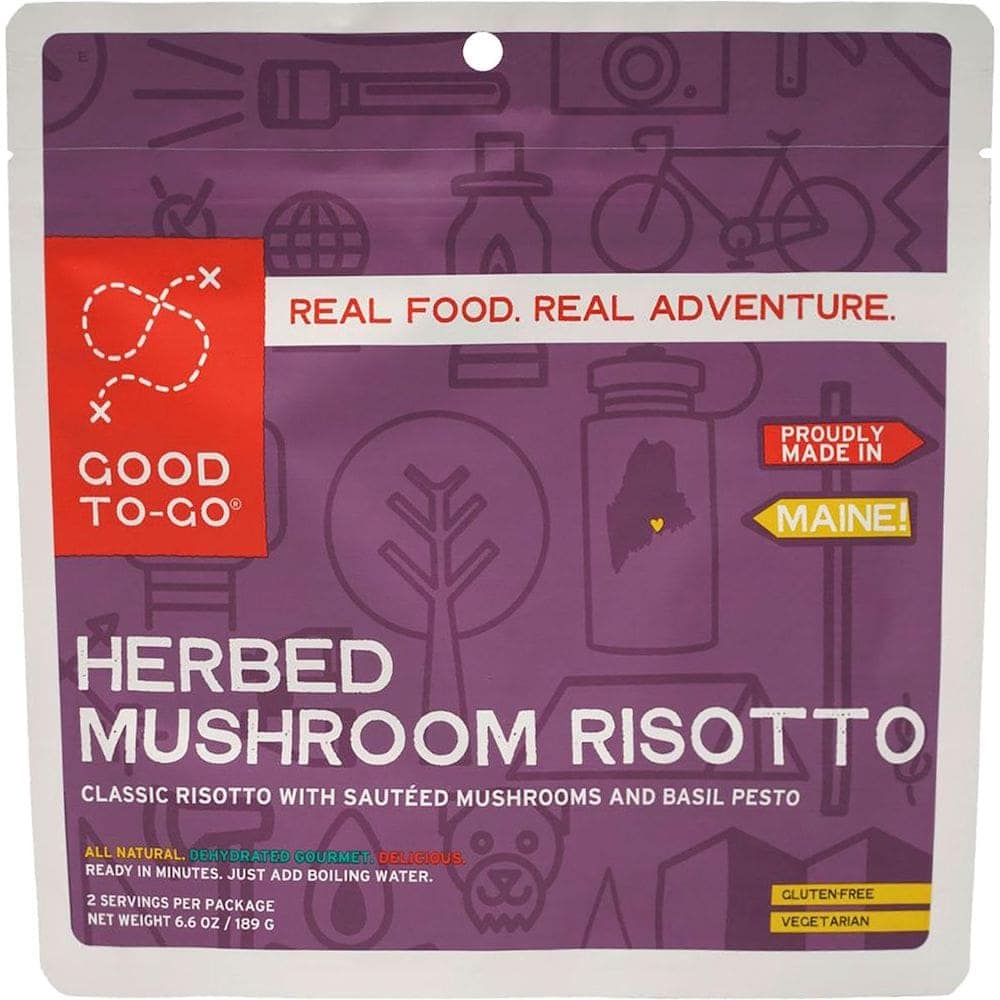
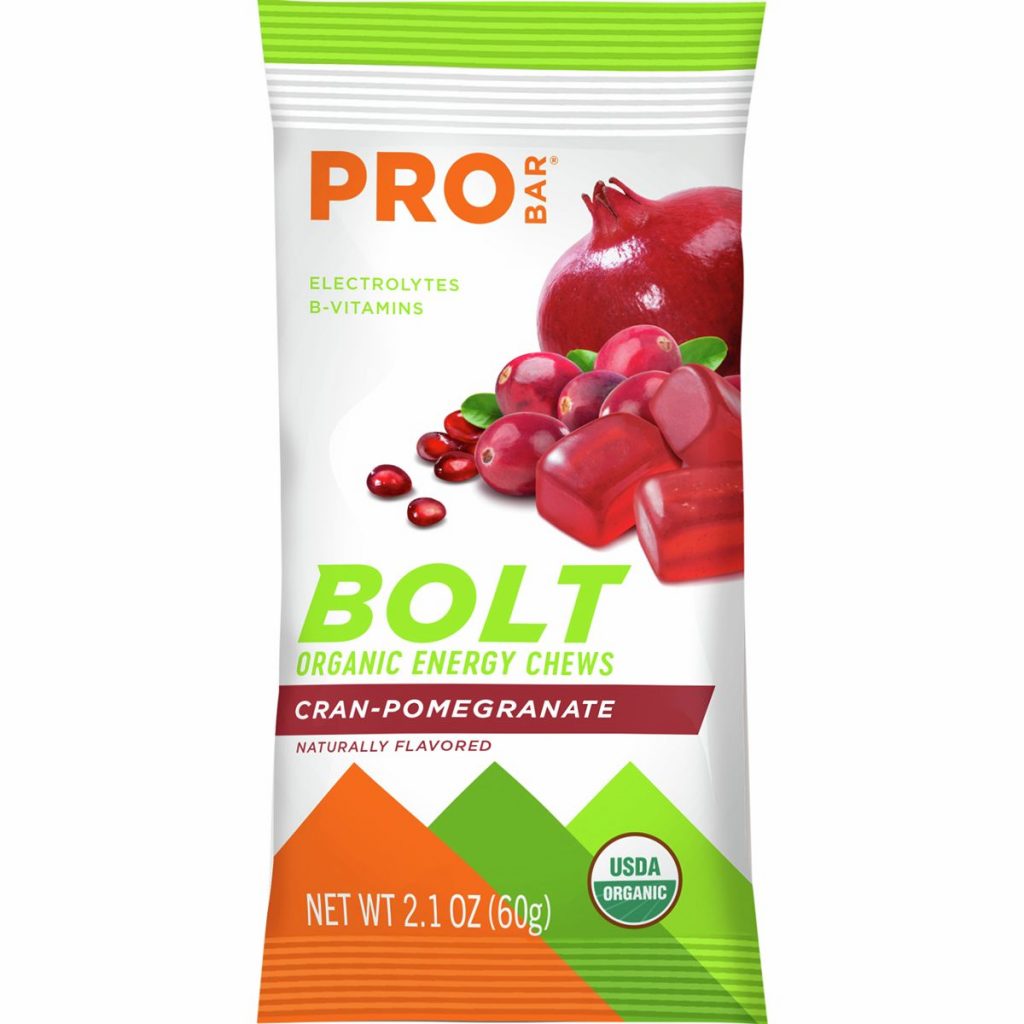
Dehydrated meals are a great option for lightweight, quick dinners when you’re in the backcountry. I really love Mary Jane’s Farm Outpost meals because they don’t have a lot of added ingredients that some other brands do, and they don’t leave you feeling bloated and gassy (no fun!). Good to Go meals are another good option with simple ingredients. Hiking snacks are super important to help you stay fueled and energized throughout the day. I love to snack on nut butter filled Clif Bars, Pro Bar Bolt Chews, GoMacro bars, Honey Stinger Waffles, and nut butters. I always use an Ursack for food storage, although there are some areas that require bear canisters. When I backpack in those areas I use a Medium Bear Vault.
Drink bottle + Water filter:
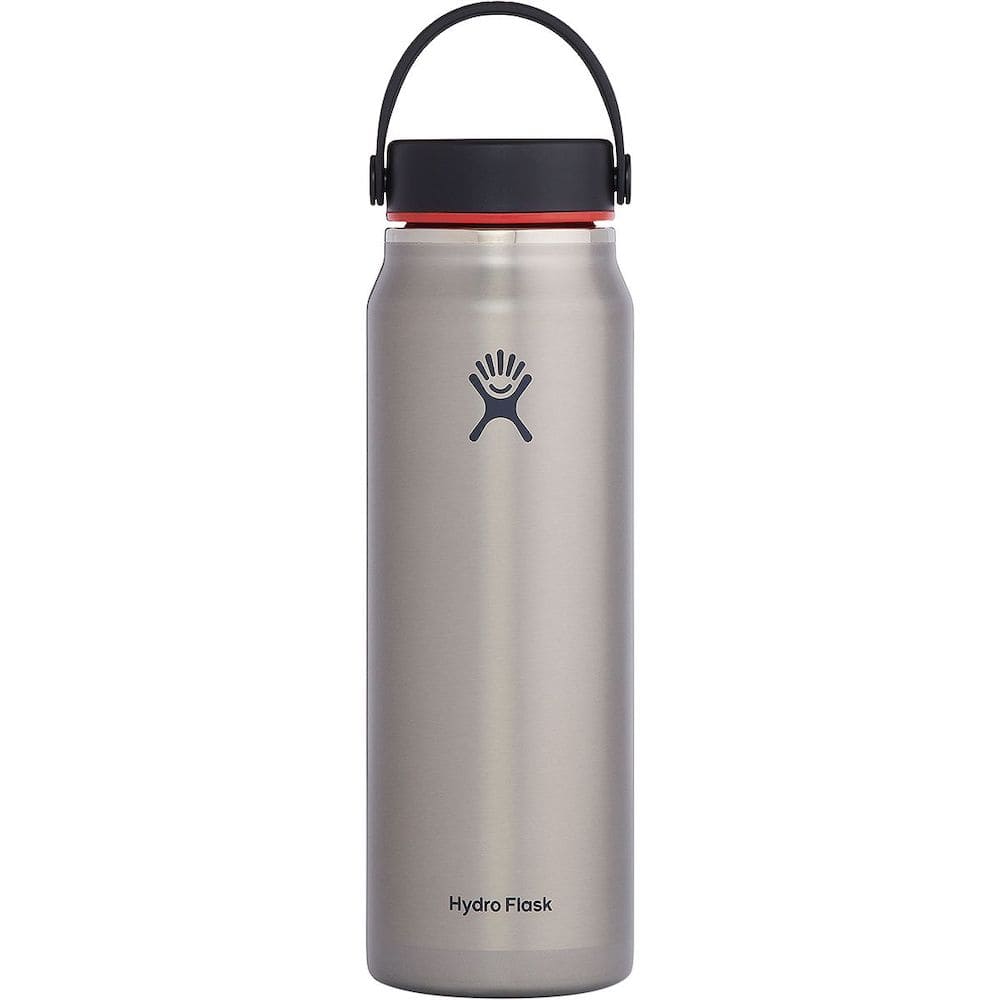
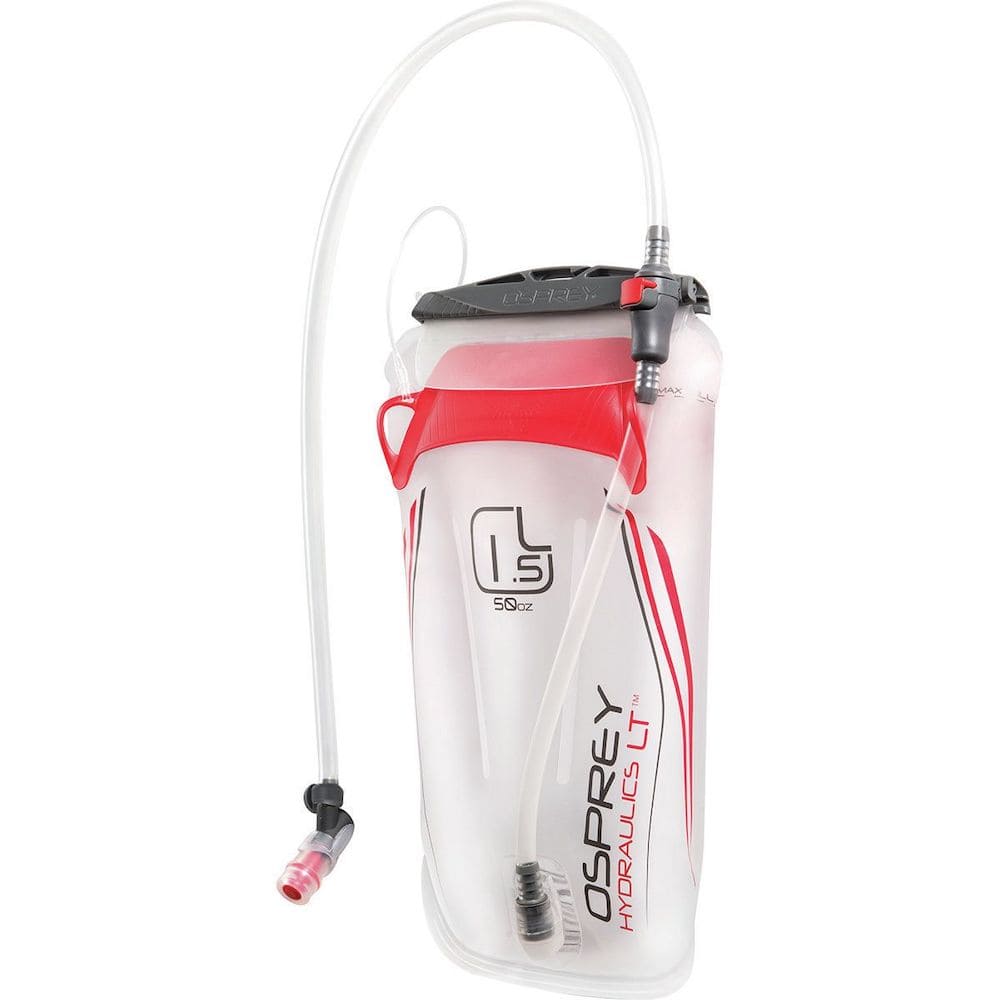
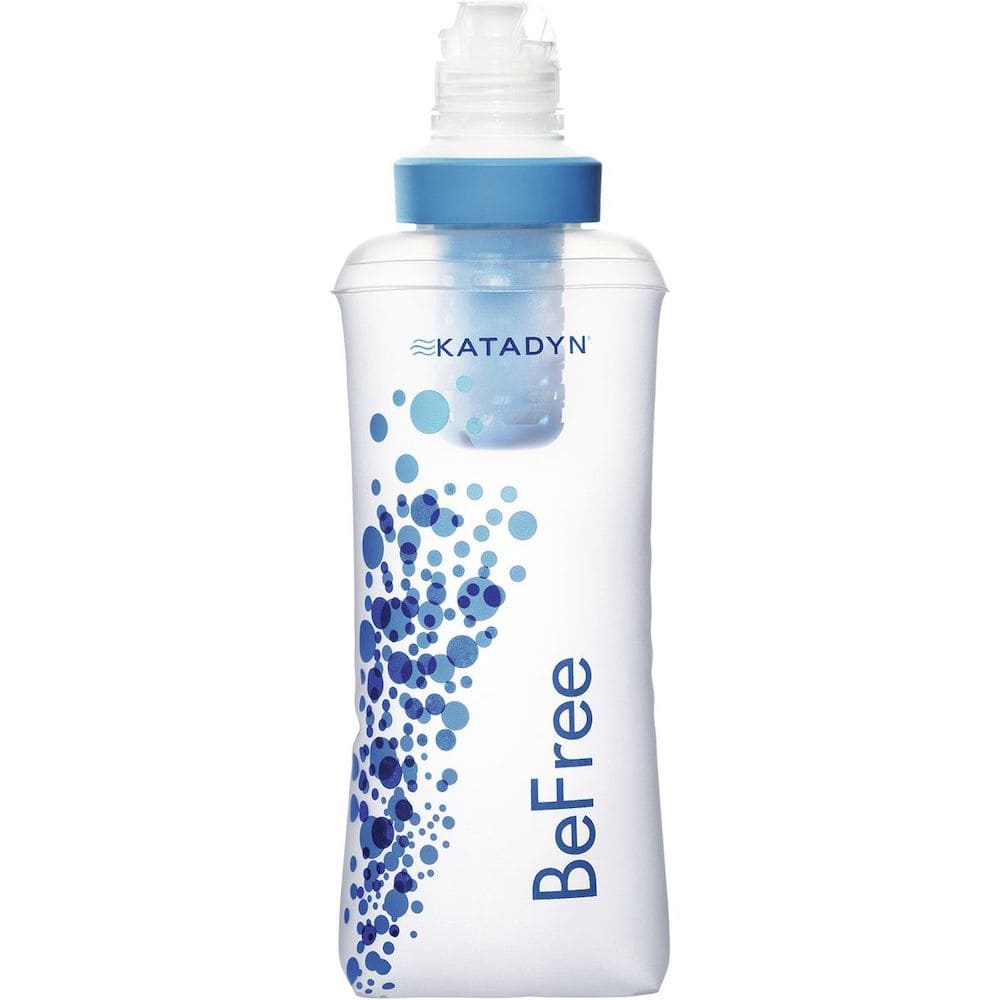
Typically I use a Hydro Flask 32oz Trail Water Bottle or a Hydrapak Recon 1L Water Bottle. Sometimes I use a hydration reservoir/bladder since they’re easier to drink from while hiking, and I will use my water bottle to drink Nuun electrolytes. In the winter I will also use a Nalgene as a drink bottle because you can use it for hot water and tuck it into your sleeping bag to stay extra toasty! Lastly, you will need a way to filter water when refilling. I like to use the Katadyn BeFree Water Filter with the Hydropak Seeker 4L Water Bladder. You can also use purification tablets, though these often take longer to filter and can leave an aftertaste to your water.
Trekking poles:
Some people consider these optional but I personally swear by them for hiking, especially with a heavy backpack. I use the Black Diamond Alpine Carbon Cork Poles regularly and love them. The Kelty Upslope Poles are a good budget-friendly option! Often I will stash one pole attached to my backpack and just hike with one, leaving one hand free to take iPhone photos, eat snacks, or help scramble over rough terrain.
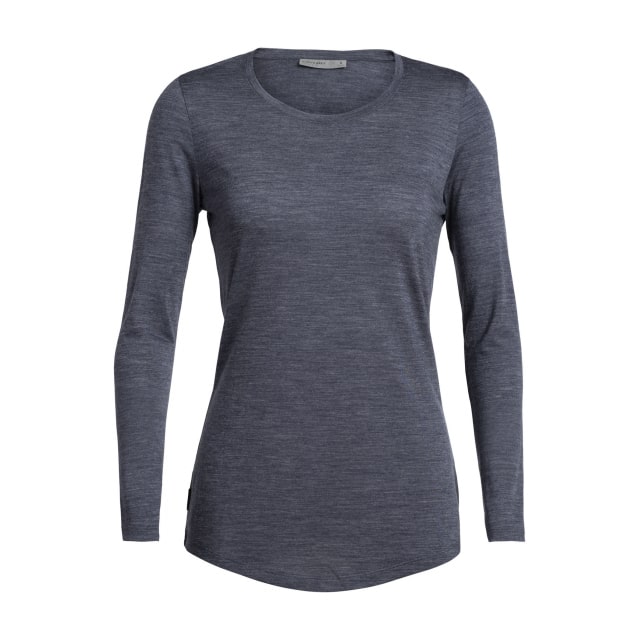
Sleeping Clothes:
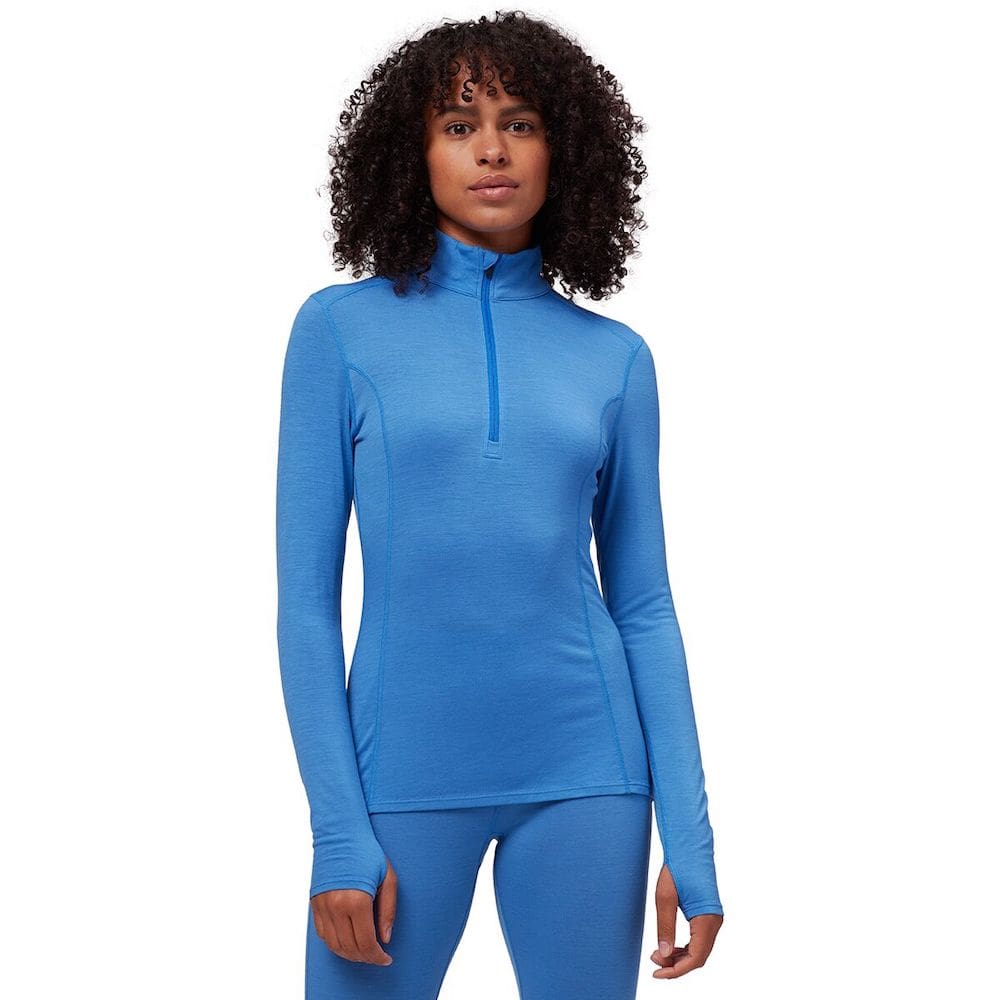
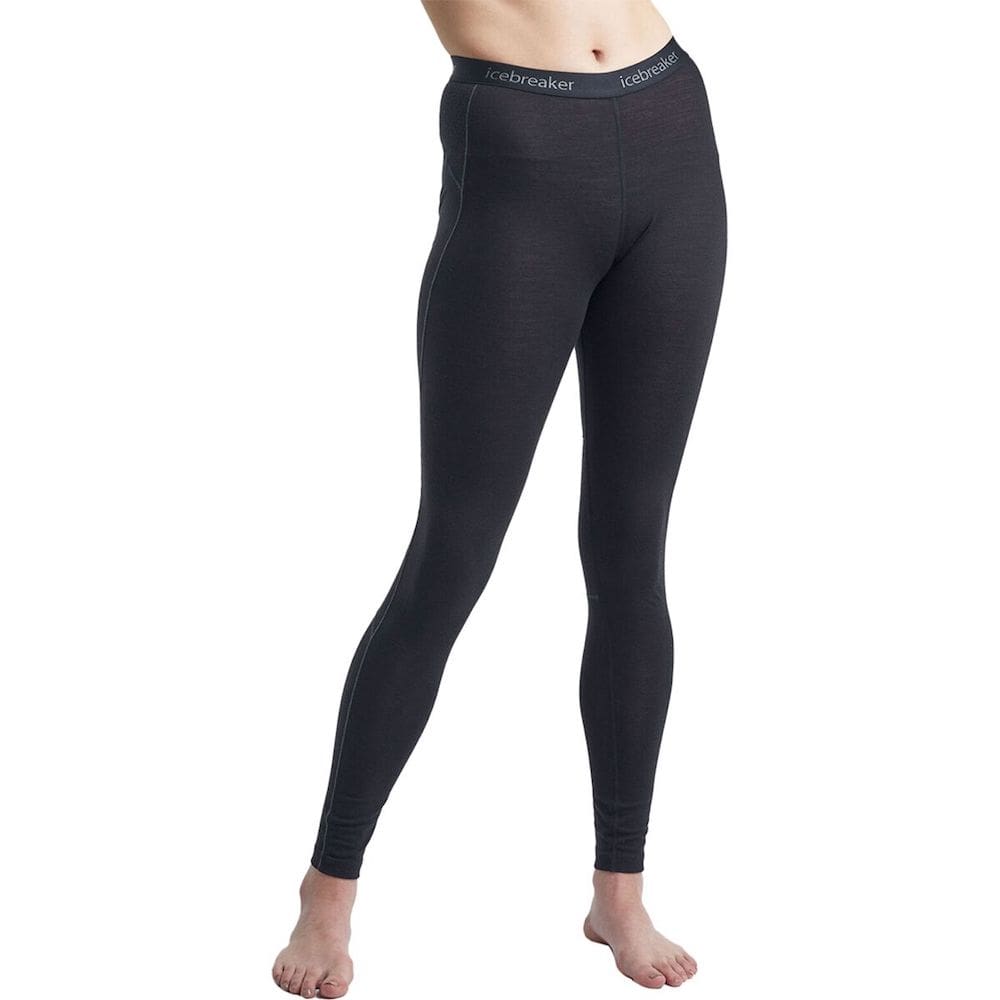
Having a clean, cozy set of clothes to change into after a long day of hiking feels extra nice. I live in the Icebreaker Long Sleeve Crewe, and the Stoic Merino 1/4 Zip Top is another great option that’s more affordable. These Icebreaker Thermal Leggings are super cozy and warm. I keep my sleeping clothes in a dry bag to make sure they are always dry when I get to camp even if my pack gets a little wet in rain or a creek crossing.
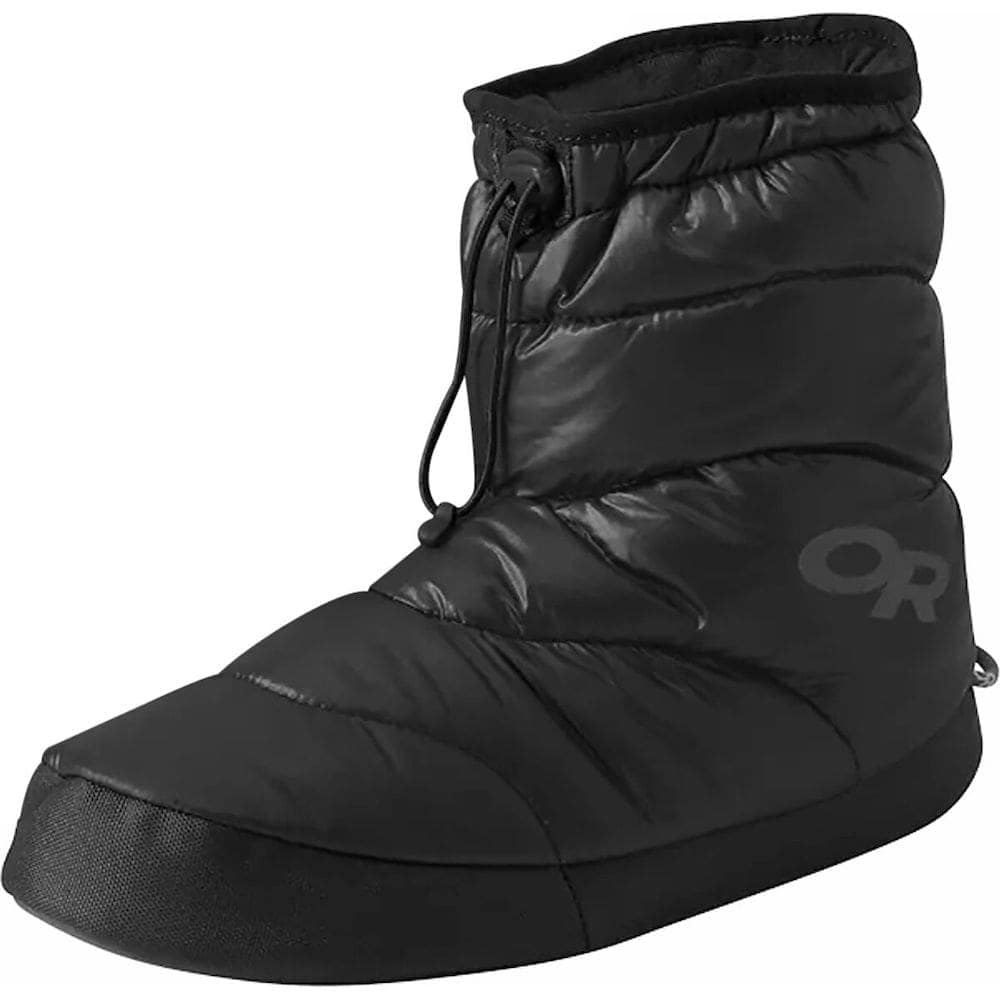
Camp Shoes:
After a long day of hiking, there’s no better feeling than peeling off your hiking shoes and slipping on some comfy camp shoes! I often pack the Birkenstock Arizona Core Sandals (there’s a men’s version, too) or the Xero Shoes Z-Trail EV. When winter camping I absolutely love the Outdoor Research Tundra Booties to keep my feet extra warm. There is a men’s/unisex version as well.
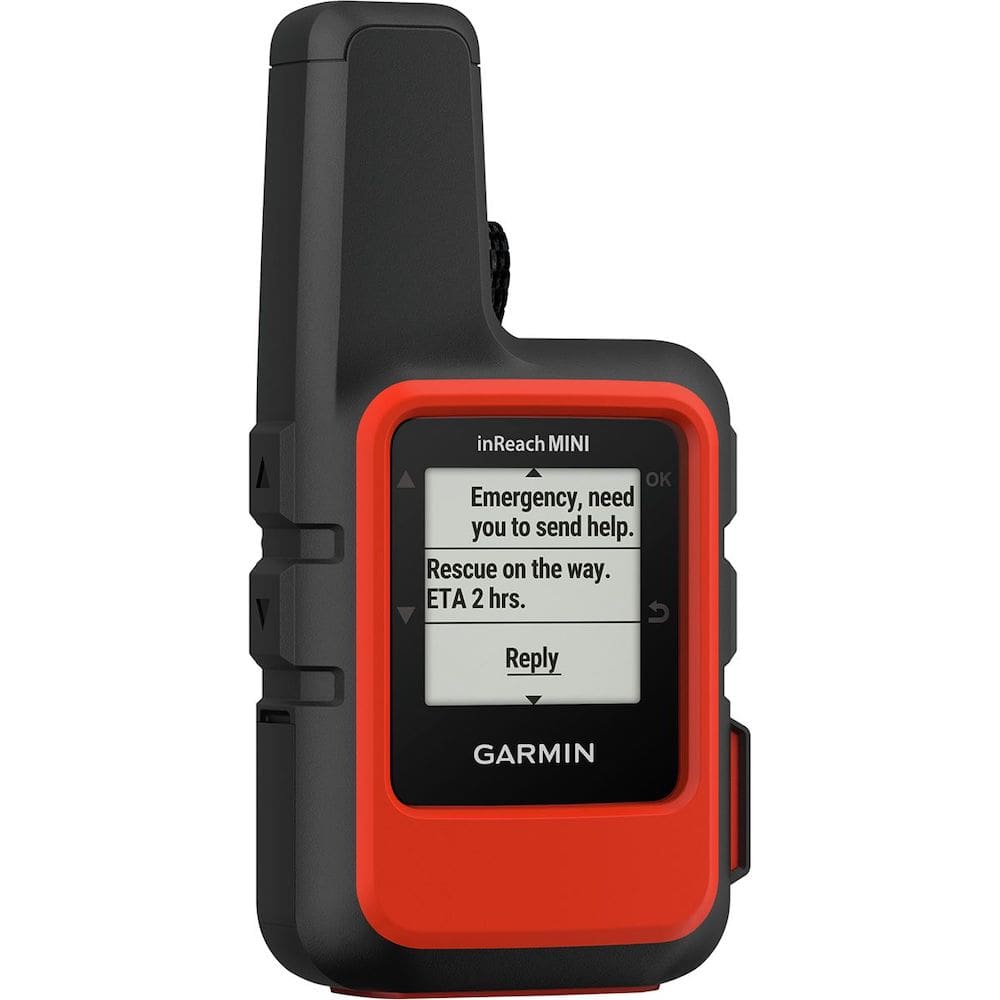
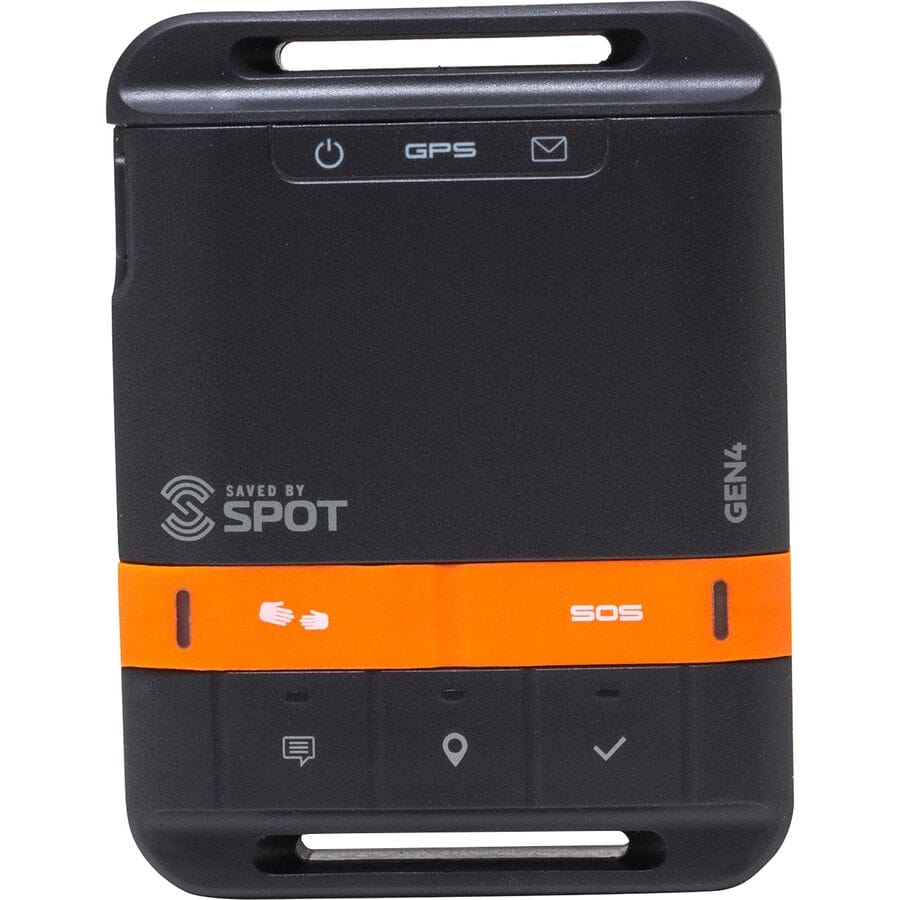
Emergency beacon:
These are definitely optional, but are great to give you and your loved ones some peace of mind especially when you’re in the backcountry. I’ve used both the Garmin inReach Mini and the SPOT Gen4 Satellite GPS Messenger. The Garmin has more functions like two-way messaging, but both devices are great options to have in case of emergency.
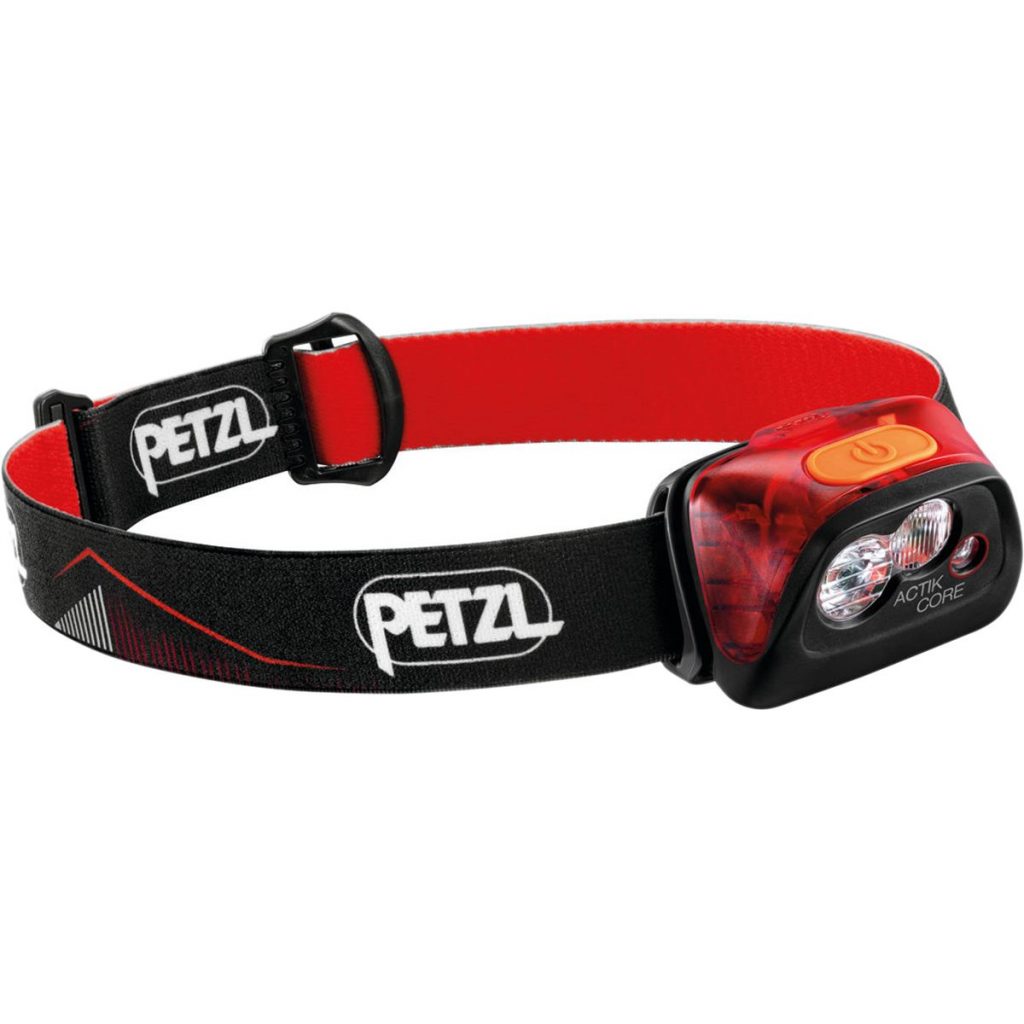
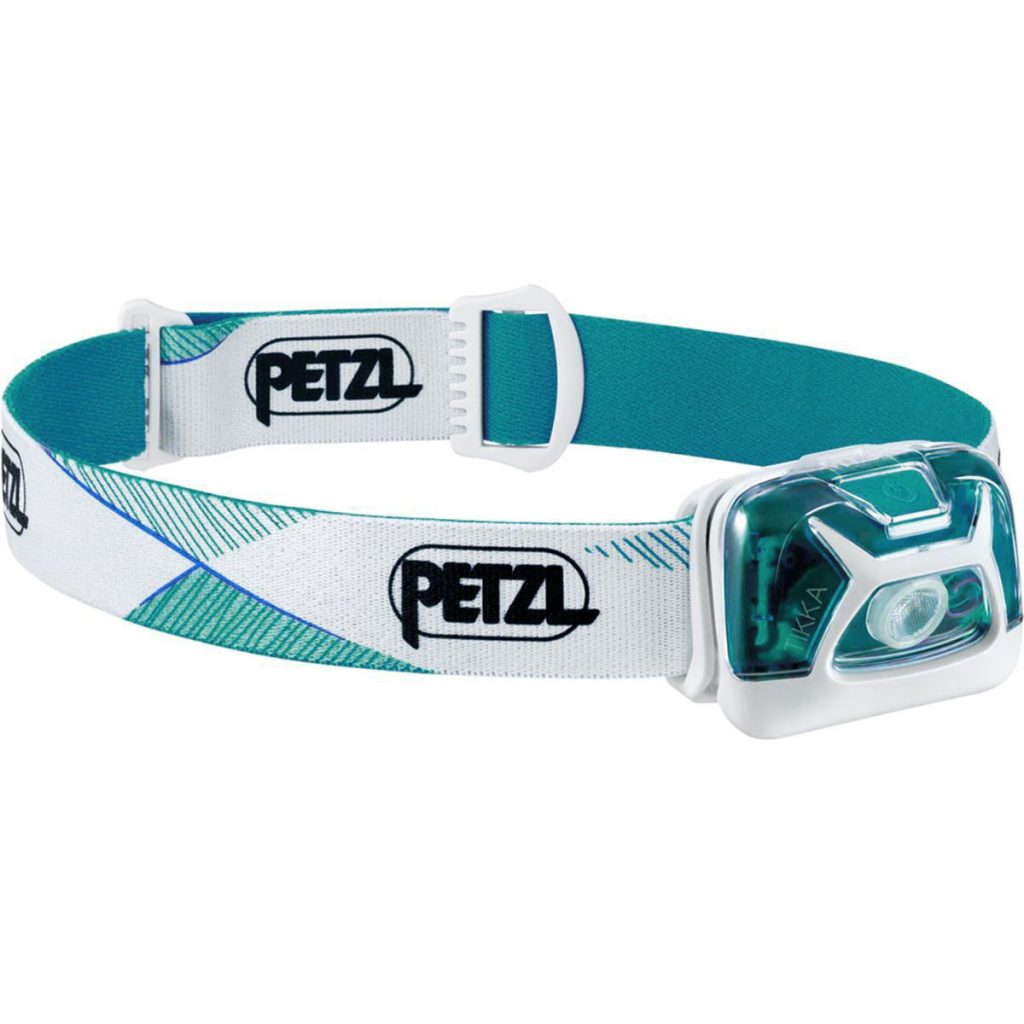
Headlamp + Lantern:
You’ll need a headlamp once the sun goes down! I have used the Petzl Actik Core Headlamp for years, and I love it. The Petzl Tikkina Headlamp is a more budget-friendly option that works great. I also like to bring a lantern that I can hang in my tent or campsite for extra light, especially during the winter months when daylight is much shorter. I like the Lander Cairn Mini Lantern and Goal Zero Crush Light.
Toiletries:
I don’t bring much, but you’ll likely want to pack a few things like sunscreen, moisturizer, contact lens holder, toothbrush, cleaning wipes, etc. I keep these organized in a small pouch, like this one from Topo Designs. For backcountry bathroom needs I pack a trowel, toilet paper, wipes, Kula Cloth, and a zip lock bag to pack out dirty toilet paper.
Pro tip: You can use a contact lens holder to store small amounts of liquids like sunscreen, moisturizer, and other lotions!
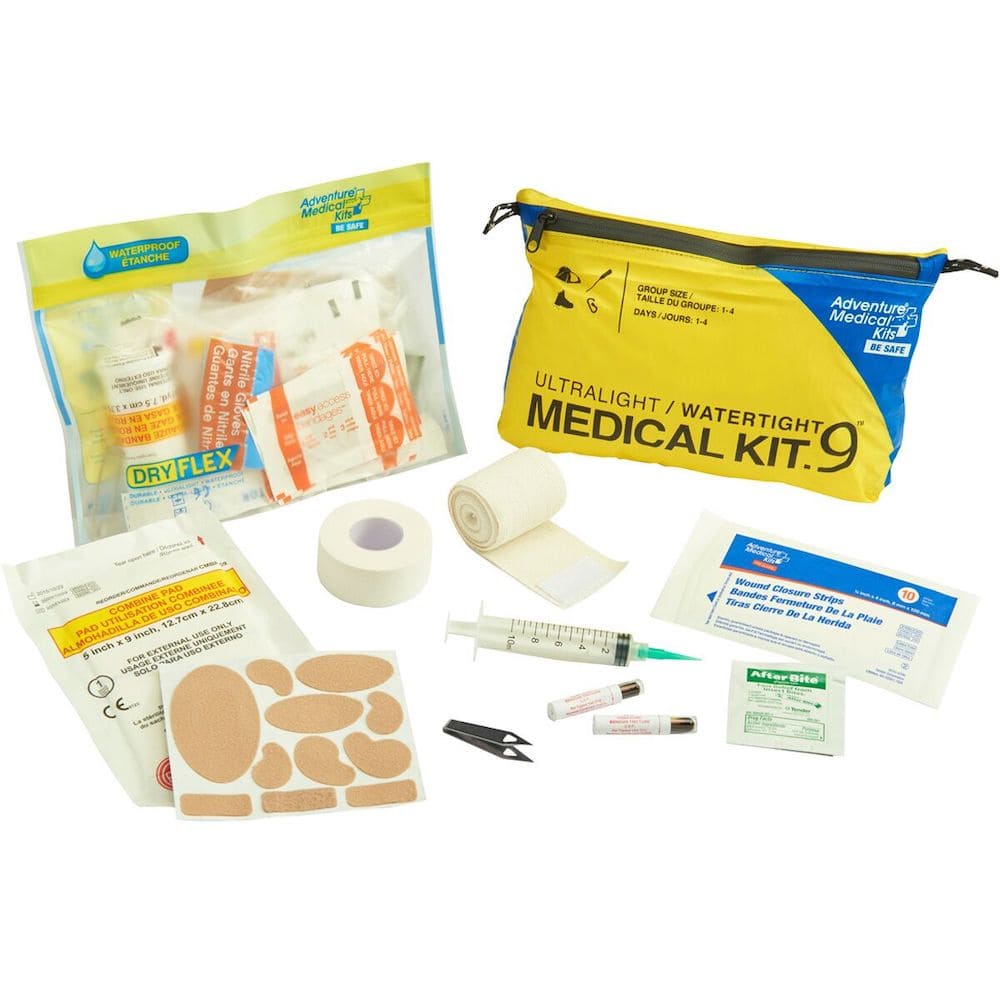
First aid Kit:
No matter how far I’m hiking, I always carry a small first aid kit with essential items like blister plasters and emergency supplies. Recommended lightweight first aid kit. If you’re lucky, you may never have to use this, but it’s best to be prepared. It’s also wise to pack some bug protection, like bug spray. If I’m hiking somewhere that I know the mosquitos will be bad, I will pack my bug headnet too.
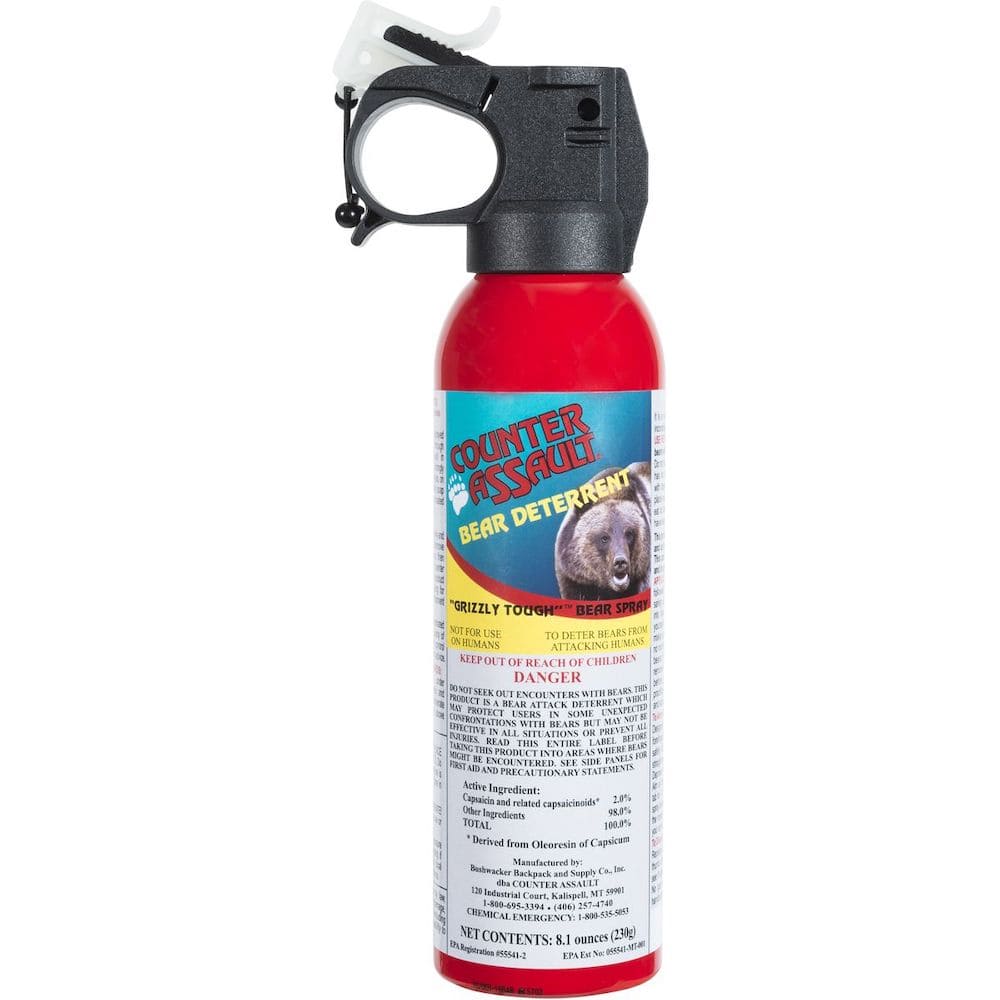
Bear Spray:
It’s wise to carry Bear Spray when in bear country. Typically trailheads and national parks will have lots of information posted when this is necessary. Note that it’s important to wear bear spray at your waist or shoulder strap, and not in your backpack out of reach. I often will carry pepper spray as a form of defense when not in bear country, especially if I am backpacking solo. You can read more about my tips for backpacking as a solo woman in this guide.
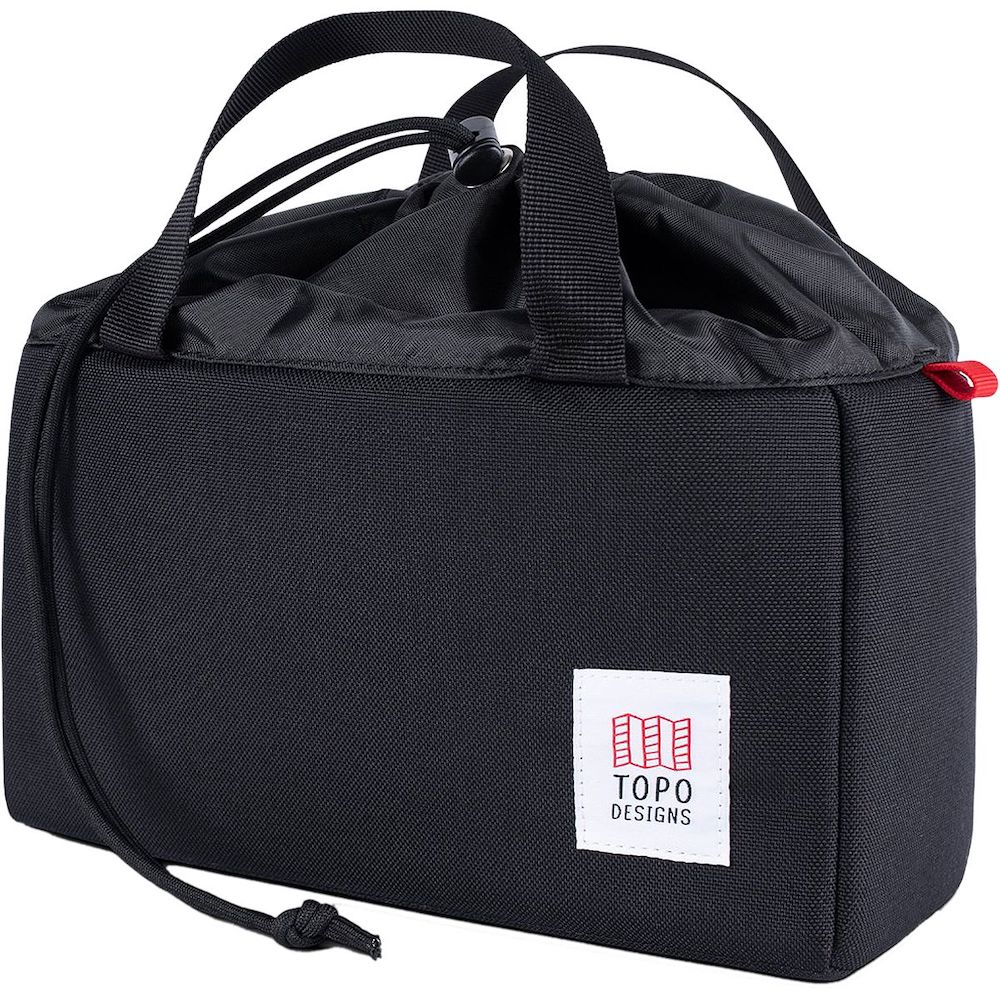
Camera Gear:
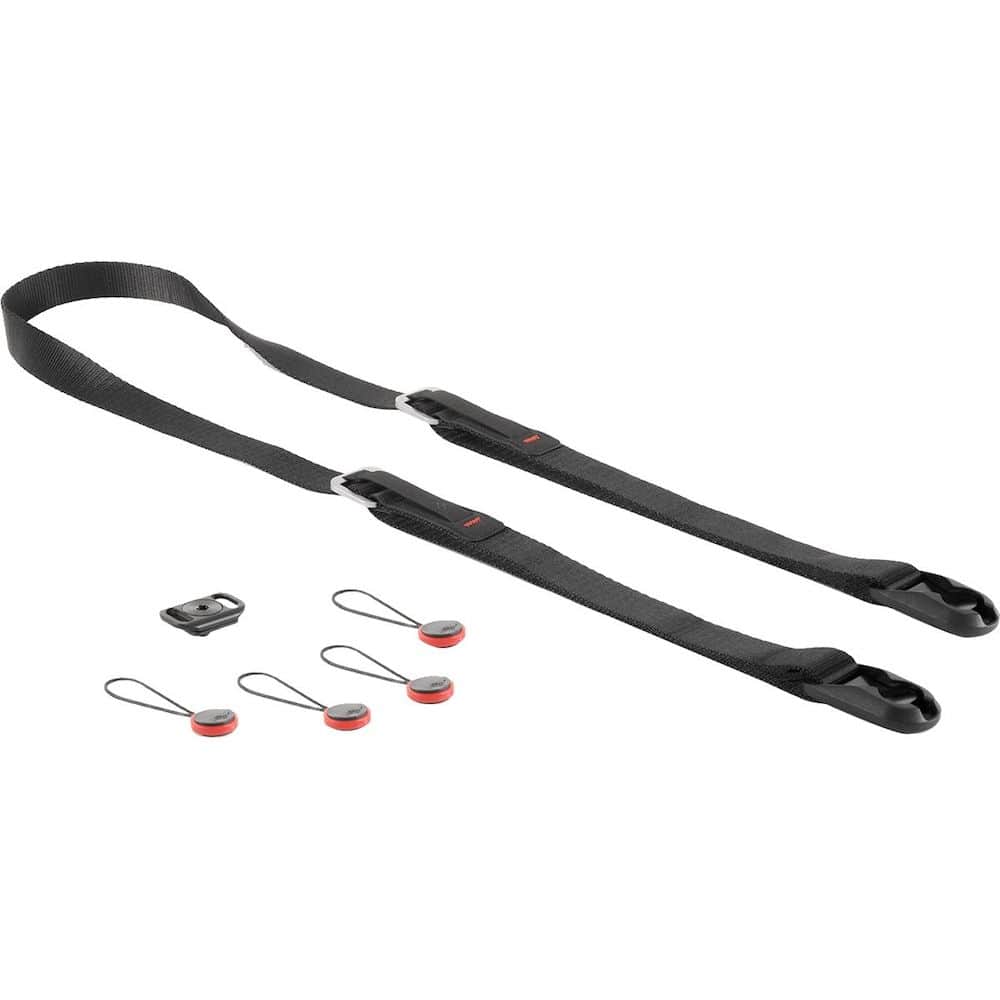
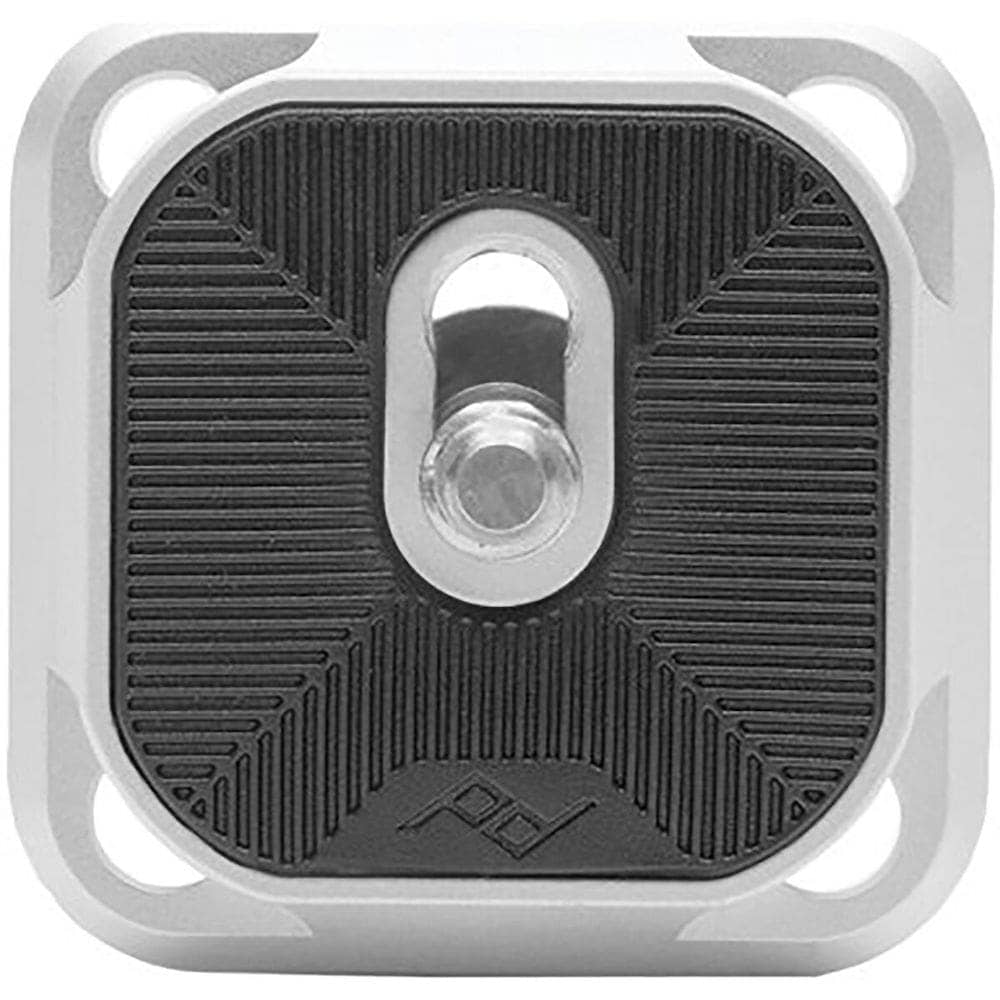
Everyone’s system for carrying their camera gear backpacking is a little different, so here’s what works for me! I pack my camera in a Topo Designs Camera Cube. When carrying my camera for easy access I use a Peak Design Leash Camera Strap and either the Moment Strohl Mountain Light Camera Loader or a Peak Design Capture Clip and Plate (I think this one is more comfortable on my pack waist strap.
Post Hike Kit:
Lastly, you might want to leave a small bag in your car with a few items to freshen up at the end of your backpacking trip. My go to items in my post-hike kit include a set of clean, comfy clothes, face/body wipes, hand sanitizer, deodorant, extra water, and snacks.
Want more packing & gear tips? Check out our guides on what to wear hiking, car camping gear essentials, how to plan a national parks trip, and the best hiking shoes.
What To Wear Backpacking
Below are the items I would recommend you wear on your body when hiking or backpacking. You will obviously need to tailor this list to suit the type of trip, weather conditions, etc. For example, in colder weather, you may wear your fleece or a wind jacket versus lighter layers in warmer, dryer weather.
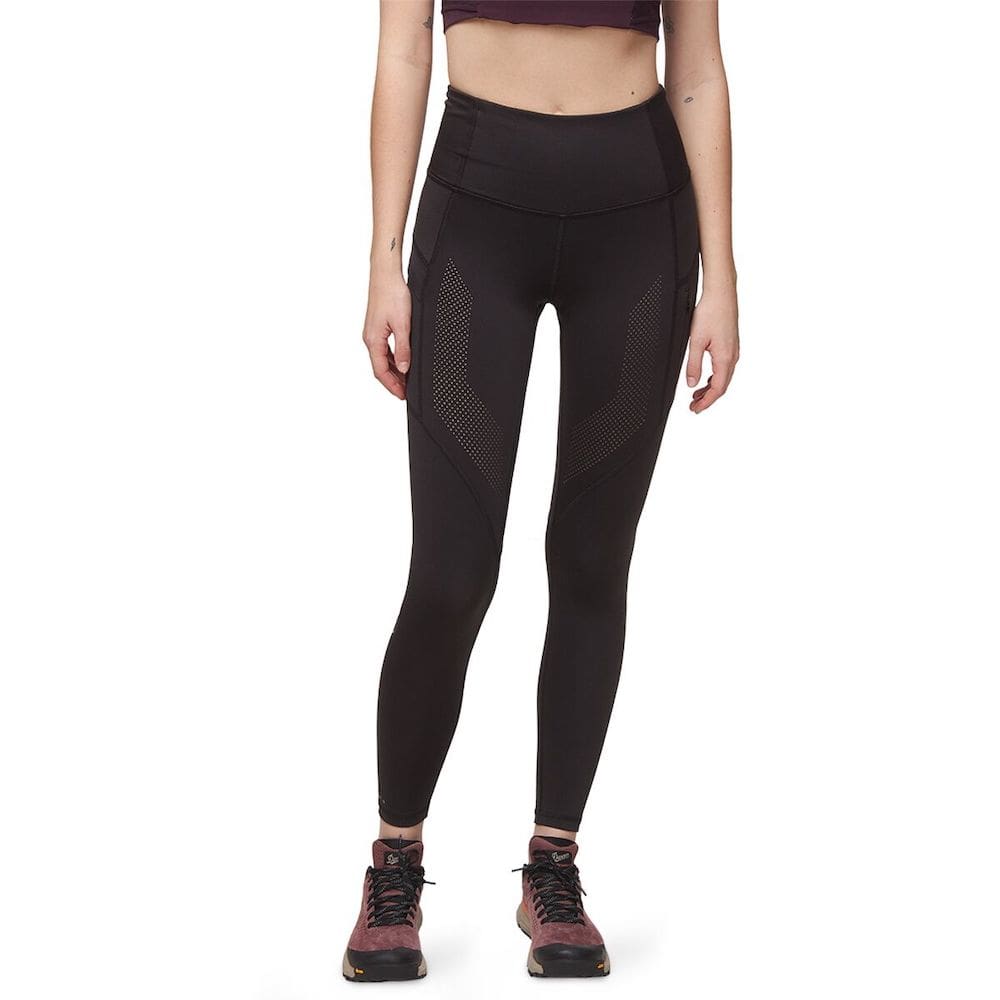
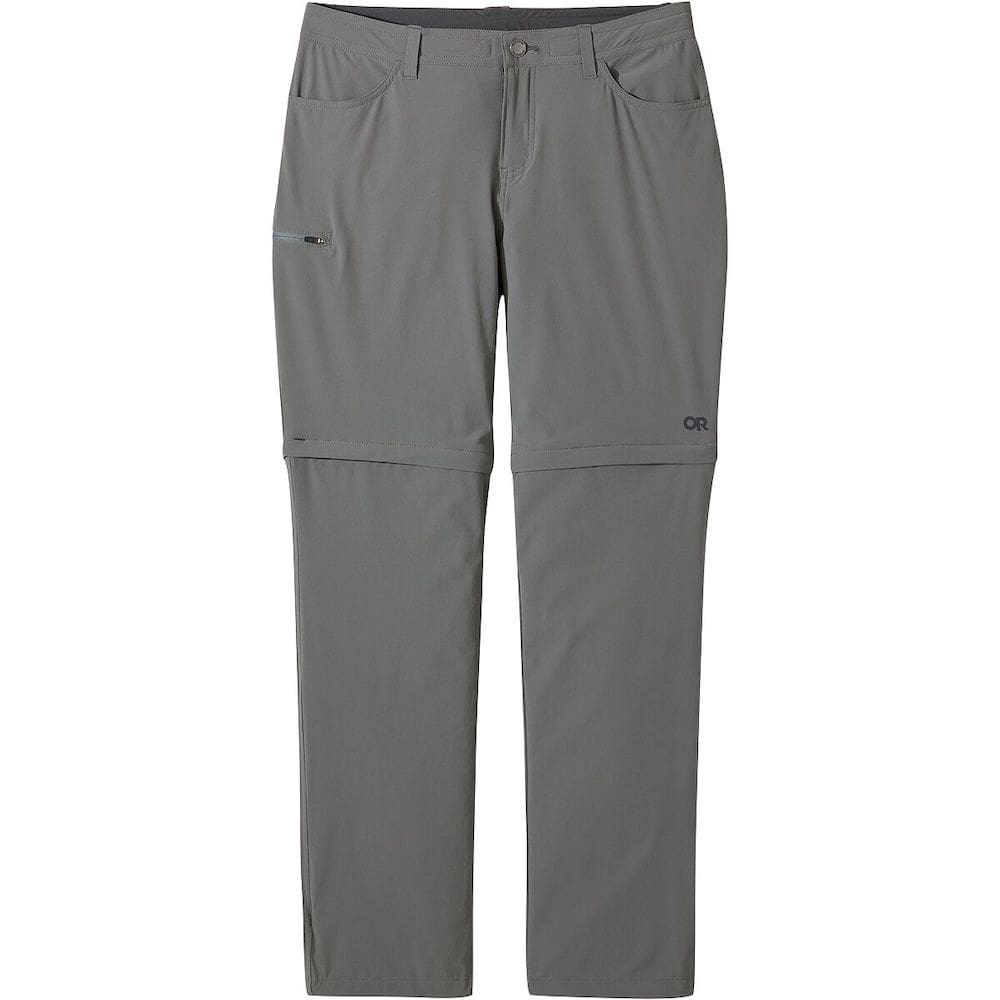
Hiking Pants
You will typically find me hiking in pants. This is because I don’t like sun exposure, I prefer not to get leg scratches from bushes/trees, and mosquitos love me. I usually prefer to wear hiking leggings / yoga pants but for long hikes or when it will be brushy I usually opt for durable pants.
For summer hiking you will often find me in the Backcountry Green Mountain Trail Tight and during winter I love the Backcountry Frary Fleece Tight. My recent favorite pair of hiking pants are the Outdoor Research Ferrosi Pant. They also make a convertible pair which is a great options if you like hiking in shorts and pants.
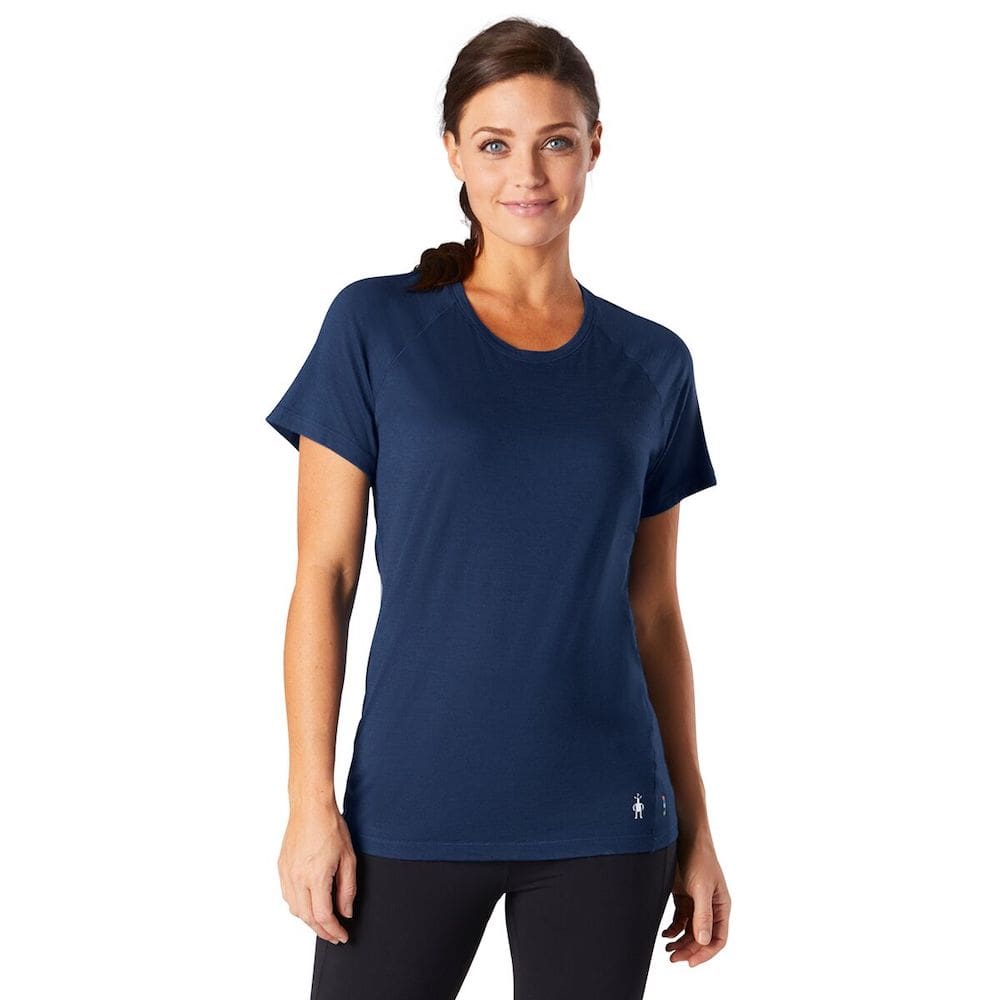
Moisture Wicking Hiking Shirt
The Smartwool Merino Short Sleeve is my go-to when opting for something short sleeve. Sometimes I prefer to wear a lightweight long-sleeve shirt for sun protection or the bugs are bad, and in that case, I will opt for the Icebreaker Sphere LS Low Crewe Shirt. My favorite long sleeve tops for cold weather hikes are the Backcountry Spruces Merino Baselayer 1/4-Zip Top and the Stoic Merino Blend 1/4 Zip. Tank tops are also an option for hiking but be mindful of backpack straps rubbing and causing blisters.
Wool Hiking Socks
The style of hiking socks you choose will be dependent on your shoe type, the weather/conditions, and your preference for cushioning. Whatever you choose I would always go with a merino wool option as they are the most breathable, moisture wicking, odor resistant, and will help prevent blisters. My go-to hiking socks when wearing boots are the Smartwool Classic Hike Light Cushion Crew Sock or Darn Tough Micro Crew Merino Sock but I prefer the Smartwool Performance Hike Light Low Sock when wearing lower-profile trail runners.
Sports Bra
Sports bras are a personal preference when it comes to fit, support, style, and material. My go-to material is merino wool because of its moisture wicking, quick drying and odor resistant nature. The Icebreaker Sprite Racerback Bra has been my favorite for some time now. The Patagonia Wild Trails Sports Bra is also a good choice for something even more supportive.

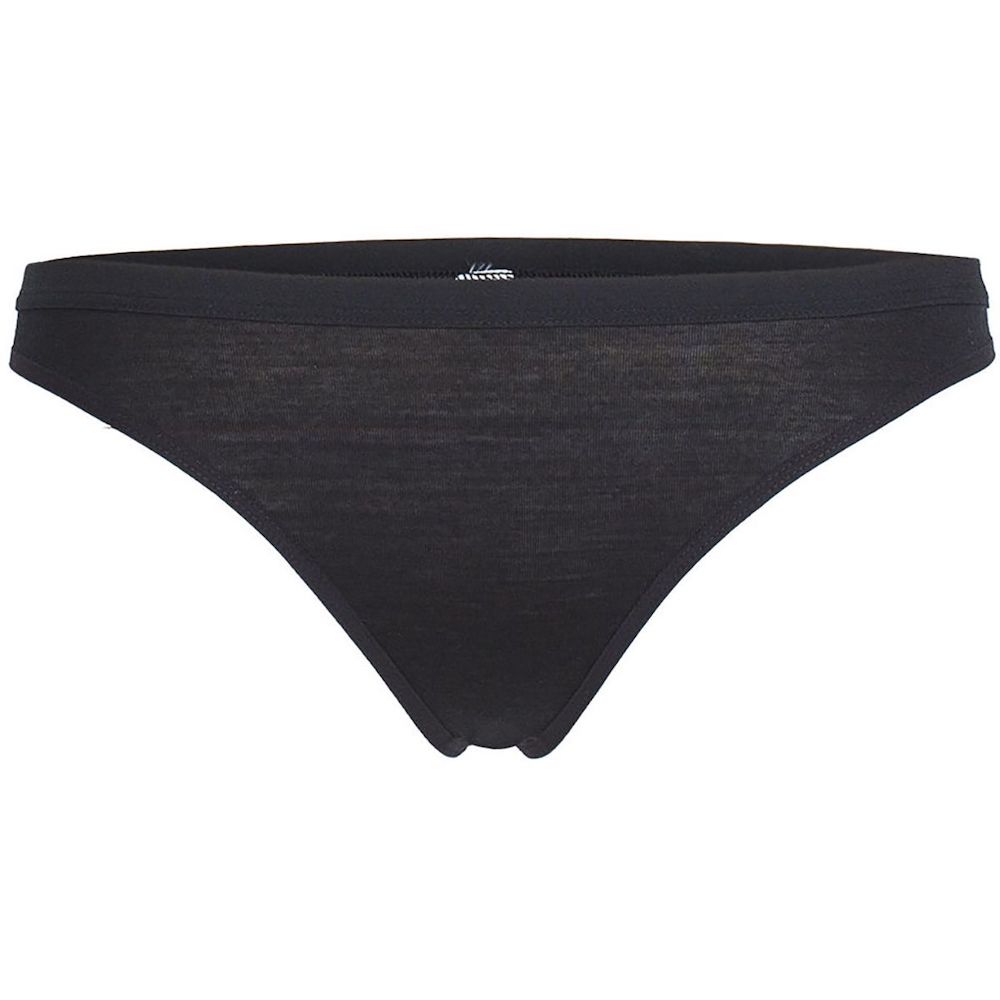
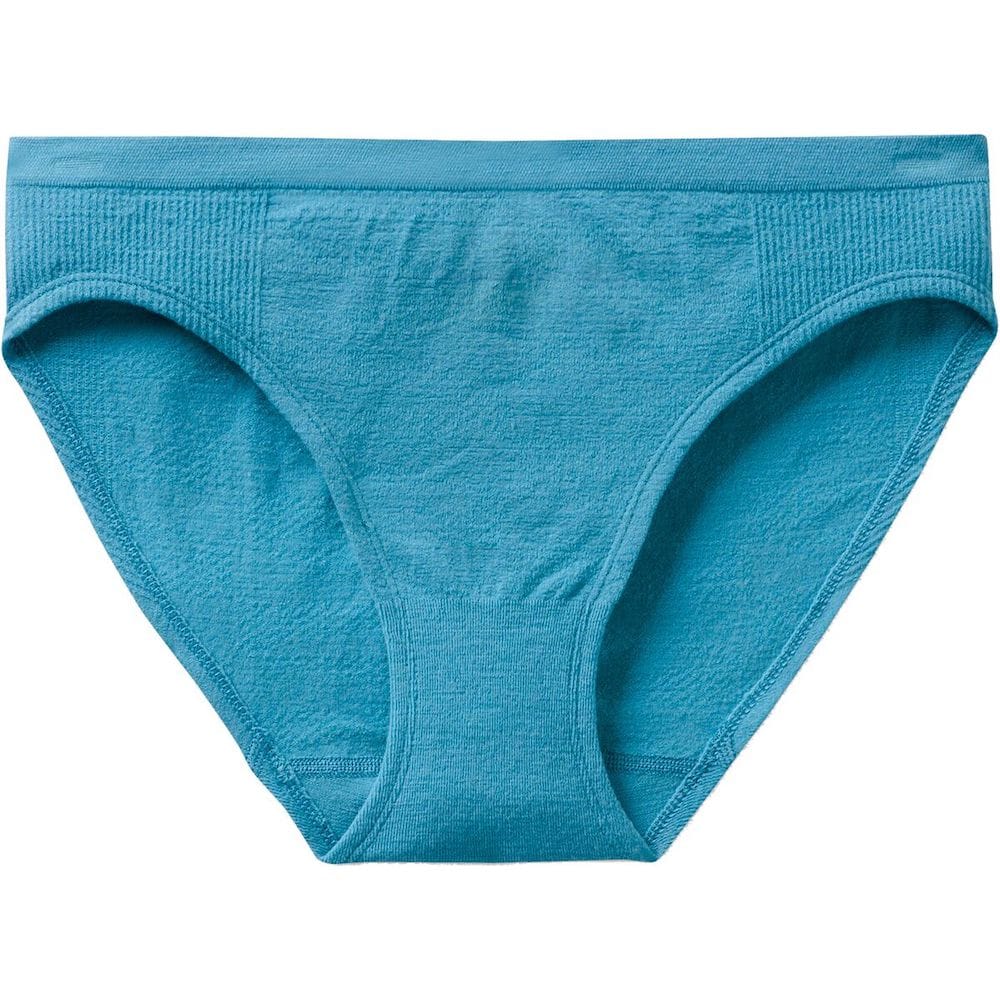
Underpants
It’s important to choose underpants that are breathable, quick drying, and comfortable. Everyone’s style preference will be different but I would suggest choosing merino wool when possible. I can recommend the Icebreaker Siren Thong and the Smartwool Seamless Bikini Underwear.
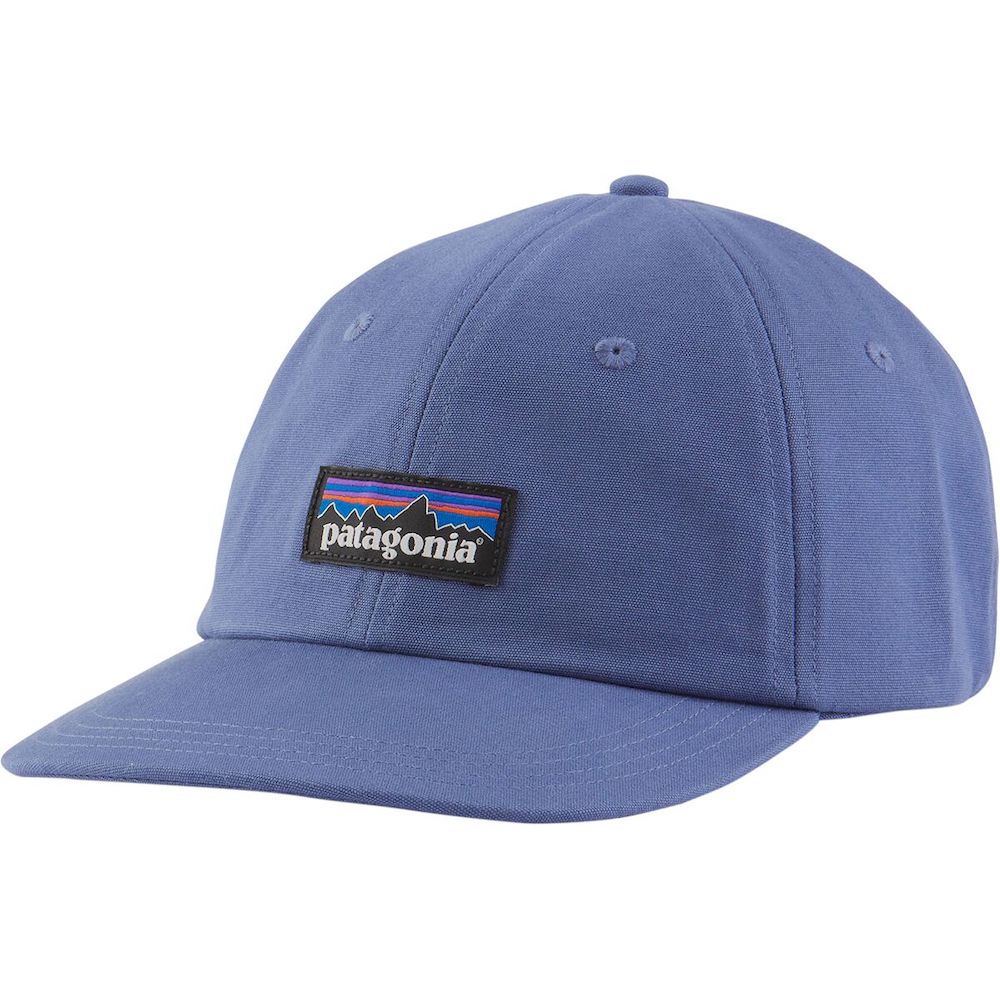
Sun Hat
Protecting yourself from the sun is a must when hiking and wearing a sun hat is one of the easiest ways you can make that happen. I often wear a basic cap like the Patagonia P-6 Label Trad Cap but will opt for a wider brim hat like the Outdoor Research Wadi Rum Brim Hat when it’s especially hot or for long hikes in the sun. Don’t forget to pack your SPF, and reapply often!

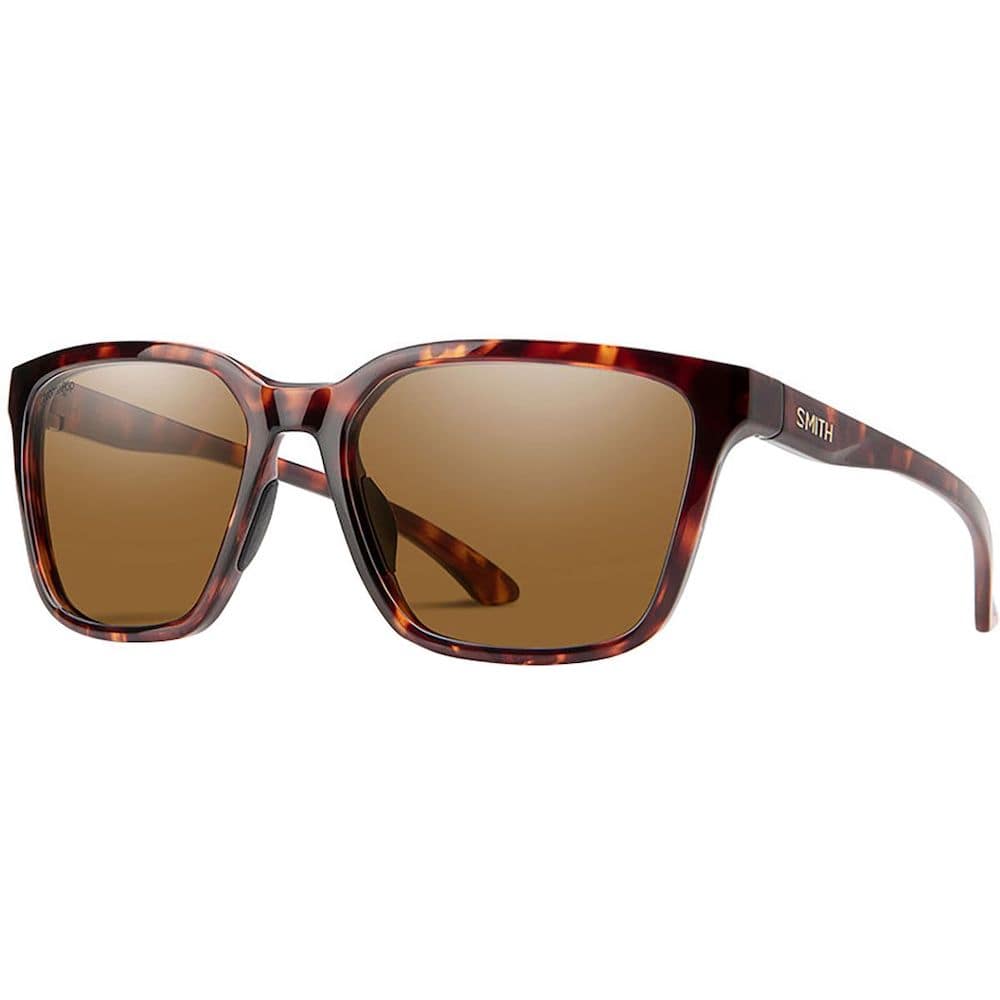
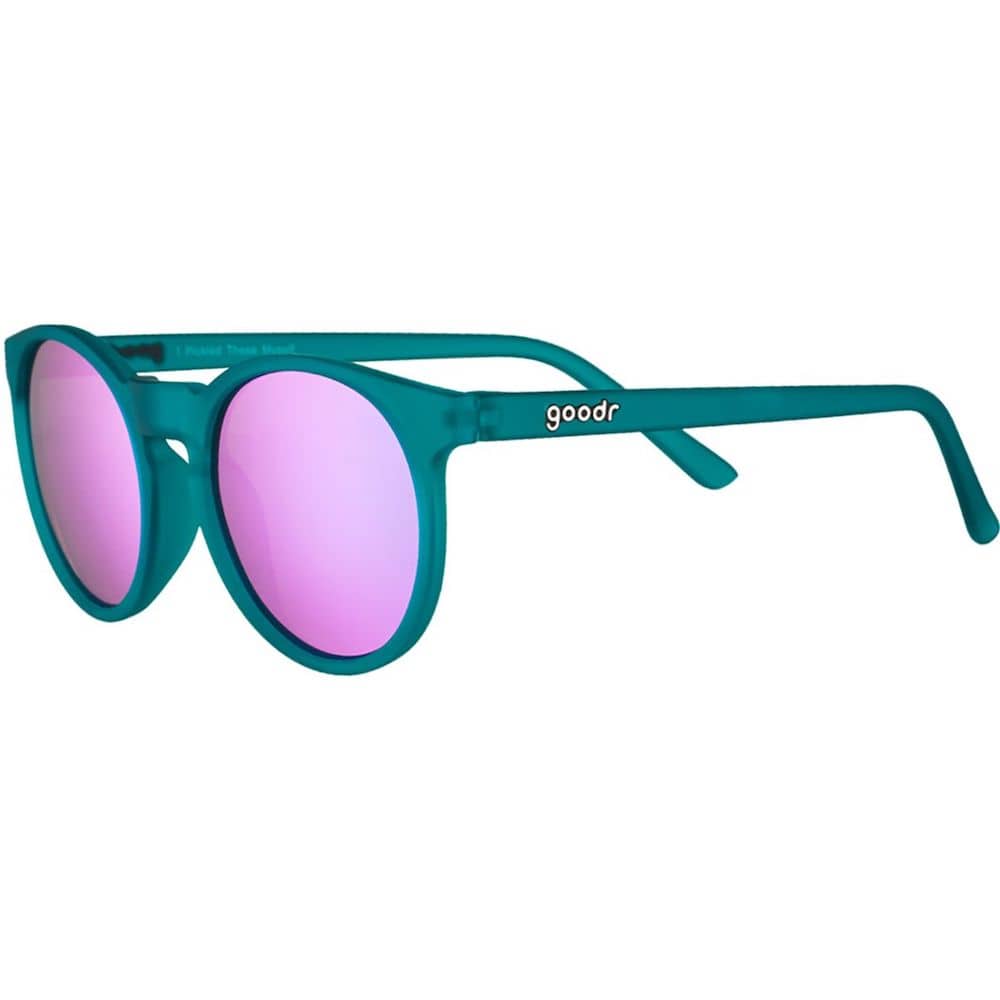
Sunglasses
It’s important to protect your eyes from the sun when hiking, in both summer and winter. Opting for a pair of polarized sunglasses will offer the most protection from the sun and annoying glare. I love the Smith Shoutout Chromapop Polarized Sunglasses, which are an investment. A super affordable pair I can recommend are the Goodr Circle G’s Polarized Sunglasses.

Not Testing Out Your Gear Beforehand
A lot of beginners make the mistake of buying equipment and trying to set it up for the first time in the backcountry. This is not a good idea! I recommend you test each piece of gear in your house or backyard before taking it out on an adventure. This will give you the chance to work out any kinks with setting it up, as well as make sure all pieces are there and in good condition. The last thing you want is to get into camp after a long day hiking to realize your new tent is missing a piece or a pole is broken.
I also like to do this same step at the beginning of each backpacking season, just to make sure all my gear is working and to see if I need to repair anything. Insider tip: Inflatable sleeping pads can easily develop small holes, so I like to blow mine up in the living room, leave it for a night, and then check in the morning to see if it deflated at all.

Letting Your Gear get Wet
Another important backpacking mistake to avoid is letting your gear get wet! In fact, this can very quickly turn a trip from enjoyable to uncomfortable, and even downright dangerous. Below I will share a couple of ways to make sure this doesn’t happen.
How To Keep Your Gear Dry
A reliable waterproof pack cover will stop your pack and gear from getting wet in the rain. Many backpacks these days include a waterproof pack cover or have one for an additional cost that will seamlessly fit your backpack. But if you don’t have one, you can improvise by lining the inside of your pack with a garbage bag and putting everything inside that.
During trips that you expect a lot of rain or will be doing a lot of river crossings, lightweight dry sacks can be incredibly useful. Putting your sleeping bag, puffy jacket, and electronics inside a dry sack gives added protection and will also keep them dry no matter what.
You will also want to make sure to have a rain jacket with you to keep your hiking layers dry in the wet. Waterproof rain pants are also an option, but the biggest priority is keeping your core dry and warm.

Getting Lost
Getting lost is one of the scariest situations for a new backpacker, and heading out on a trip without proper navigation tools is one of the most dangerous backpacker mistakes you can make. Below are a few tips to make sure you stay on the trail and avoid putting yourself in a dangerous situation.
Navigation For Backpacking
Tell a friend or family member where you are going, as well as a timeframe for your return.
Instruct them to call emergency services if they don’t hear from you by a particular time. Make sure to check in with them when you get home.
Download a GPS hiking app such as Gaia GPS (Click here to get 20% off a Gaia GPS membership), which allows you to download offline maps.
This is a great tool to ensure you stay on route, and also allows you to track other useful information such as the speed you are hiking, elevation gained, distance hiked, etc. It’s also useful to carry a small battery pack for your phone and save it in case you get low on battery and need to use one of these apps to get out of a sticky situation.
Carry a compass and map, and know how to use them.
Apps are great, but you may find yourself with a dead battery or damaged phone. There are many great resources that can teach you how to use a topographic map, such as this one. Know how to use your compass, too.
As a beginner, it’s important to stay on trail.
Most people get lost because they lose the trail and end up continuing on in the wrong direction until they are completely lost. Stick to the trail so in a worst-case scenario, you can always just backtrack your way back to the car.
Be observant.
Take in your surroundings as you hike. If you get lost, this will make it easier to get back on route.
Pack an emergency device like the SPOT Gen4 Satellite GPS Messenger or the GarminInReach Mini.
In a worst-case scenario where you are completely lost, you can hit the button and a search and rescue crew will be sent out to get you.

Ignoring The Weather
Another backpacking mistake to avoid is going into the backcountry without checking the weather. Knowing what weather to expect on your trip is one of the most important aspects of planning any backpacking adventure, and even experienced hikers should not skimp on this step!
Why You Should Check The Weather
- If the weather is going to be bad, you may choose to postpone the trip and wait for better weather. In my experience it is hard to enjoy a backpacking trip when it rains the whole time!
- You can tailor your gear to the expected weather. This also helps to make sure you don’t carry too much or too little into the backcountry.
- Knowing if there’s a chance of storms means you can plan to be away from high and exposed areas during those times.
- Certain areas (especially in Utah and Arizona) are susceptible to flash flooding. You don’t want to enter a narrow canyon if there’s heavy rain expected upstream of these areas.
- It helps you to plan whether it will be worth getting up early to watch the sunrise.
With all of that said, mountainous areas can bring extremely unpredictable weather. Experience will help you pack more efficiently over time, but until then it’s better to be overprepared than underprepared.
Best Apps for Weather Forecasts
A simple google search is often not accurate enough for backcountry adventures, and so I recommend using apps or websites with more accurate location-specific forecasts for remote areas. A few of my favorites include OpenSummit, Windy, and the National Oceanic and Atmospheric Administration (NOAA) website.

Not Packing The 10 Essentials
Another backpacking mistake to avoid is not packing the 10 essentials. These are items that keep you safe in the outdoors and could potentially save you from a very bad situation (e.g. getting lost, hypothermia, etc.) The National Park Service (NPS) has a great article on the 10 essentials, but I’ve also run through them below
What Are the 10 Essentials?
1. Navigation (map, compass, GPS system).
You will use your navigation system to help plan your trip/route, as well as to stay on track during your hike. Be sure to know how to read a topographic map and use a compass before needing to rely on one!
2. Sun protection (sunglasses, sunscreen, hat).
These items will protect you from harsh UV rays that can lead to sunburn and skin cancer. I always wear a sun protection when hiking (let’s make wide brim hats cool again!) and would also recommend wearing longsleeves if you are particularly prone to sunburn.
3. Insulation layers (jacket, hat, gloves, rain gear, thermal underwear/baselayers).
These will depend on the type of weather and season you are hiking in, but always be prepared for sudden changes in conditions. The NPS recommends you pack an extra layer of clothing that reflects the most extreme conditions you could encounter.
4. Illumination (headlamp, lantern, flashlight).
You will need some sort of lightsource for night hiking, around camp, and in case you get lost. Be sure to pack extra batteries if your device is battery operated.
5. First aid supplies (lightweight first aid kit).
Be prepared for emergencies and have a mini first aid kit with you on all hikes and backpacking trips. I personally bought a pre-made kit and then added a few extra items that were specific to my needs and the type of trip.
6. Fire starter (matches, lighter, fire starters).
This is in regards to emergency settings where you may need to use fire as a signal, to keep warm, or to cook food. Otherwise I recommend using a camp stove and avoiding open fires (always make sure to adhere to burn bans).
7. Repair kit and tools (duct tape, knife, scissors, multi-tool etc).
Having some basic repair items will help if a gear item breaks or in other emergency situations. Bring any tools/repair items specific to your trip.
8. Shelter (tent, space blanket, tarp, bivy).
Adequate shelter will help protect you from severe weather conditions and exposure during an emergency survival situation.
9. Food (meals, snacks).
Make sure you have enough food for your trip length, plus a little extra (e.g. a day’s extra supply). Think about the calorie density to weight ratio and avoid heavy food items that will weigh down your pack.
10. Hydration (water, water filter).
Remember to drink water often and before you feel thirsty. I also recommend using electrolytes when sweating (Ultima Lemonade is my favorite). Water filtration is another consideration as it is best to avoid drinking unfiltered water. My go-to water filter is the Katadyn BeFree 1L Water Filter Bottle.

Leaving A Trace
Lastly, one of the most important backpacking mistakes to avoid is leaving a trace. This essentially means leaving somewhere worse than you found it. A way to avoid doing this is by following the 7 Leave No Trace principles. I will outline them below and you can also read my in-depth Leave No Trace guide for more information. I also recommend reading up on proper hiking trail etiquette and how to use the bathroom outdoors.
Leave No Trace Considerations
- Know the regulations and special concerns for the area you are visiting.
- Travel and camp on established trails and durable surfaces.
- Pack it in, pack it out (do not leave any trash int the backcountry).
- Deposit solid human waste in catholes dug 6 to 8 inches deep, at least 200 feet from water, camp and trails.
- Pack out toilet paper and hygiene products.
- To wash yourself or your dishes, carry water 200 feet away from streams or lakes and use small amounts of biodegradable soap. Scatter strained dishwater.
- Examine, but do not touch cultural or historic structures and artifacts.
- Leave rocks, plants and other natural objects as you find them.
- Where fires are permitted, use established fire rings, fire pans, or mound fires.
- Keep fires small. Only use sticks from the ground that can be broken by hand.
- Burn all wood and coals to ash, put out campfires completely, then scatter cool ashes.
- Control pets at all times, or leave them at home.
- Respect other visitors and protect the quality of their experience.
- Be courteous. Yield to other users on the trail.
- Observe wildlife from a distance. Do not follow or approach them.
- Never feed animals.
Final Thoughts
I hope you found this guide helpful! You will definitely learn a lot the more often you go backpacking. But hopefully this guide helps you avoid some of the most frequent mistakes and allows you to have even more fun! Feel free to share some of the lessons you’ve learned while backpacking so that we can learn from each other 🙂
PIN for Later Planning!


level devil 2 has some really difficult obstacles; are you up to the challenge? A world full of surprises awaits you, along with lethal traps and obstacles that you cannot predict!
Introducing level devil 2, the most furious platformer ever! This difficult journey will put your talents to the test as you navigate dangerous traps and evade unexpected obstacles.
Wow, that was an incredible journey you took! As you traveled around the extremes of the Earth, it sounds like you had the nicest Seabourn journey ever. I absolutely enjoy the contrast between the icy landscapes of Greenland and Antarctica and the bright sunshine of the Kimberley.
I’m currently using one of the older MLD Burn packs, but considering trying something different. I see the new Burns have wide shoulder straps and DCF option. Zpacks Nero is appealing for the low weight and bigger front pocket. Do you have any opinions on the Waymark Evlv or other models (xpac)? Do you think load lifters are of any benefit on a frameless pack (a feature touted on the Evlv)?
Wow, there is so much that goes into picking the right backpack. The first and last time I went hiking was with my brother, and we went to a mountain range in Colorado.
I could not carry my pack. My brother ended up clipping my backpack to his and carrying both. I think the problem was that both bags were his, so they fit his body.
Now my husband wants to go hiking, so I am in the market for some gear. After reading your article, would it be better to buy the backpack from a brick and mortar store to ensure I get the proper fit?
Thank you for your advice.
I love this list! Thank you so much for putting it together. Even as someone who has experience in the backcountry, there were lots of tips and tricks that I didn’t know about (like the Windy app). Have you personally used the Xero shoes, or have a preference between the two you listed? I’m now convinced I need a pair, since you called out my Chacos.